

The Design Process
My approach to designing a space usually follows the same pattern, whether that space is an entire yard, or a simple set of built-in shelves. I believe most folks do the same thing on some level, and it begins with looking at what others have done and determining what appeals to you. I think we work at designing our personal space throughout our lives, and subconsciously build up an "internal catalog" of what we like and dislike. When we are lucky enough to have an opportunity to actually apply our desires to something tangible, we draw on that internal catalog as a starting point.
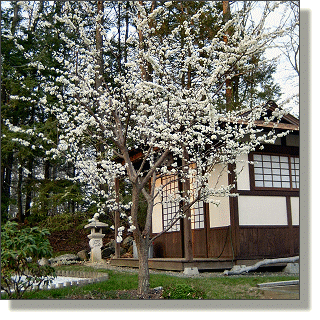
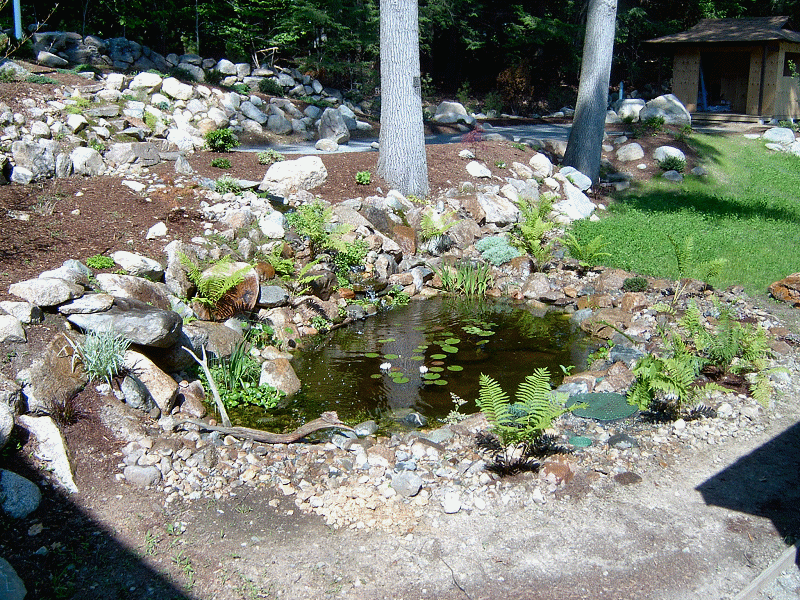
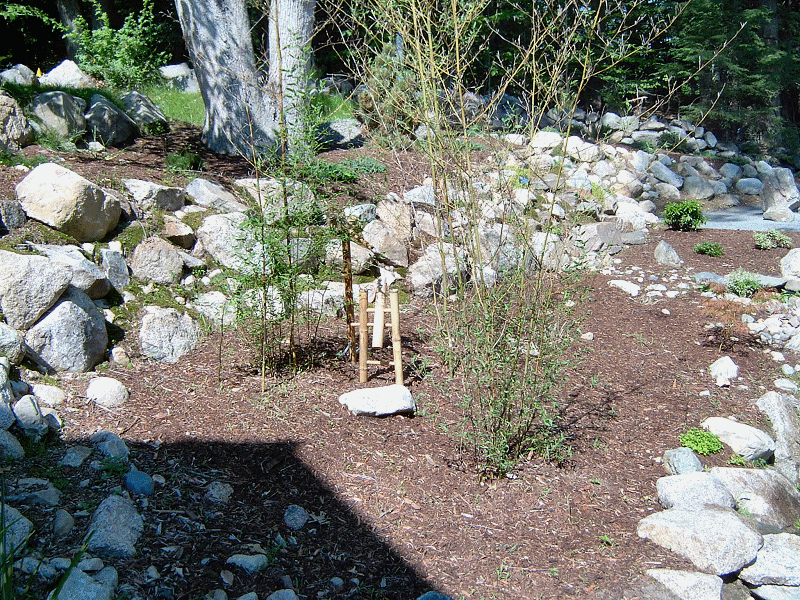
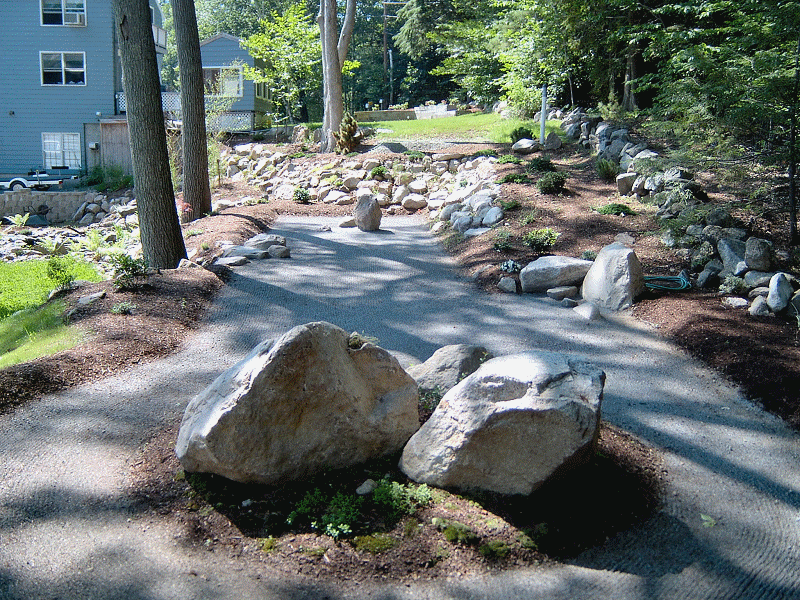
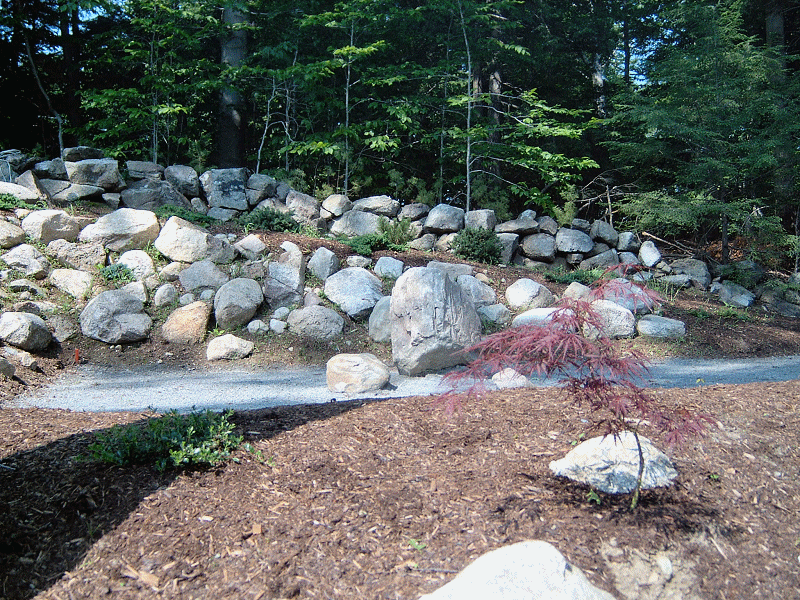
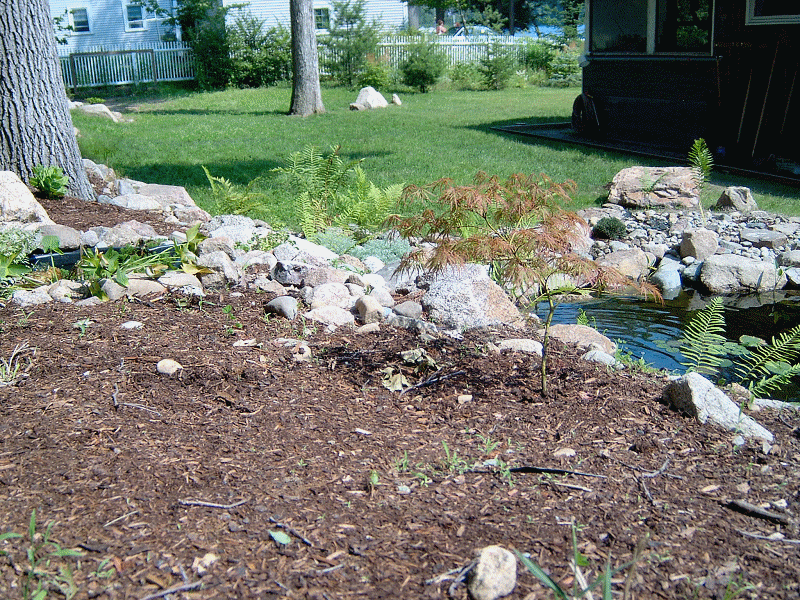
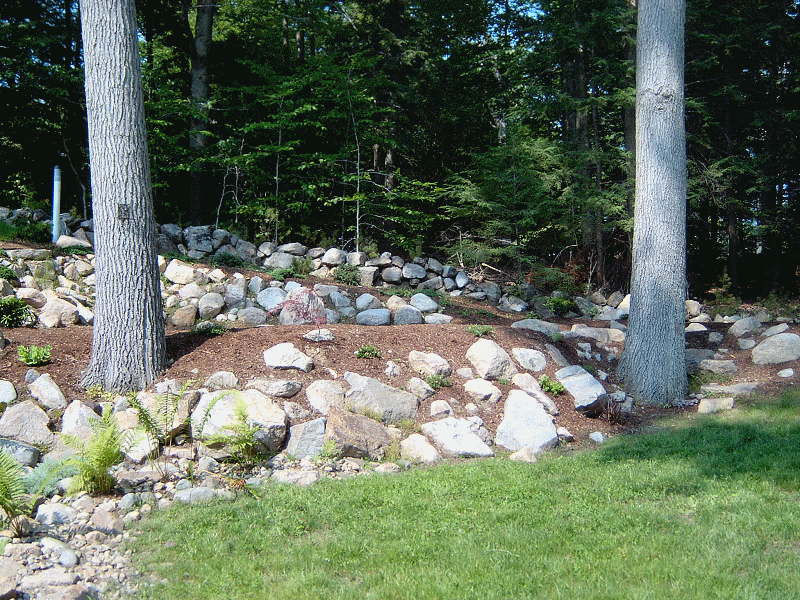
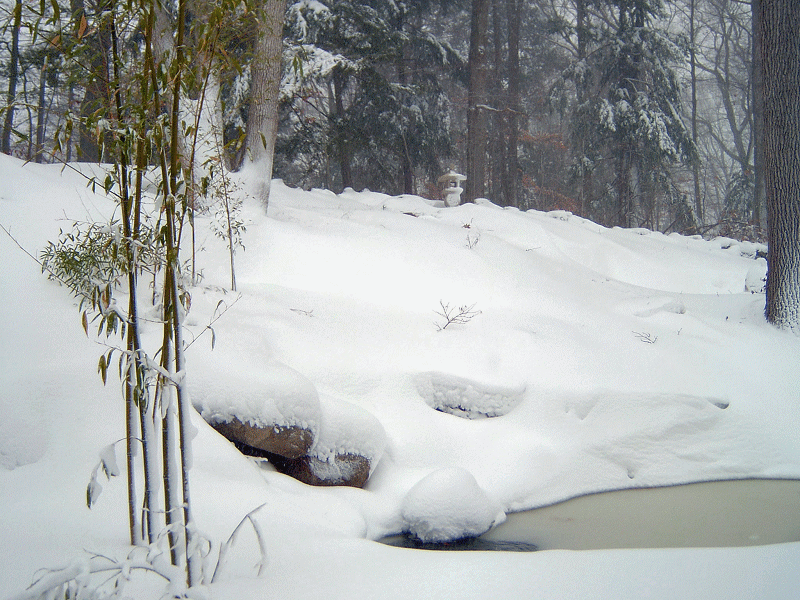
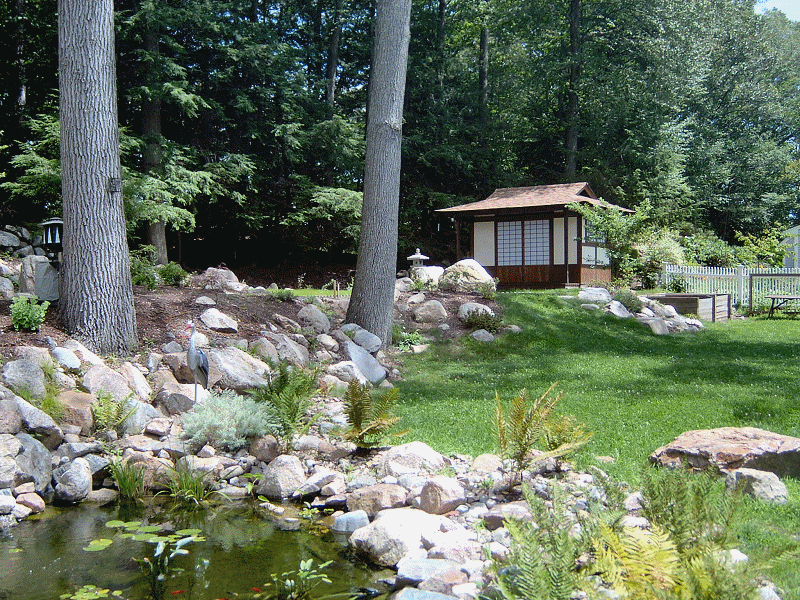
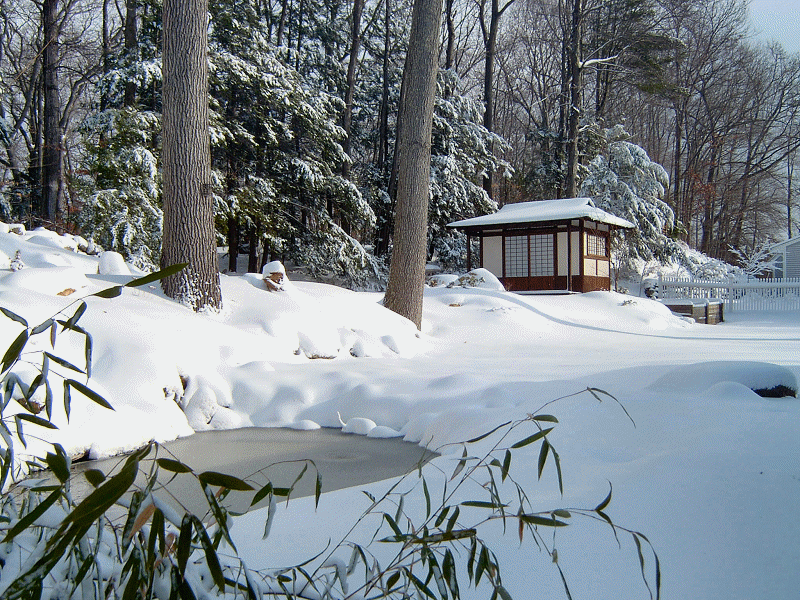
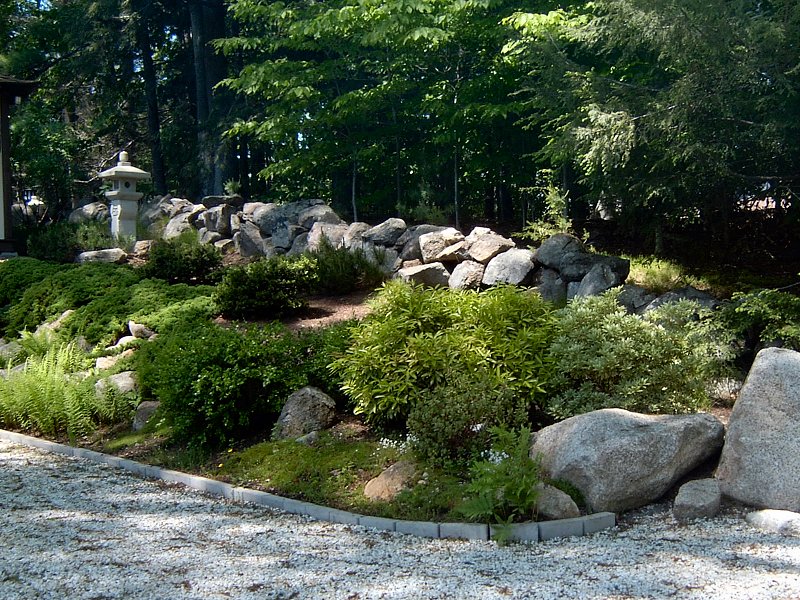
 The garden in 2003 and 2004 (15 photos)
The next step is to evaluate that subconscious internal catalog of the things we find pleasing and determine what those things are called in the "real world" so we can learn more about them and work toward attaining them. This is the part of the process I find very enjoyable - researching the "stuff" that I like - I may not worry too much about why I like something (which is obvious if you've read my poor attempt at defining the inspiration for this project), but I feel a strong sense of accomplishment when I can articulate exactly what it is that I want. Some folks don't deal with this part at all, which I suppose is why professional designers can make a living. I think the main thing that separates a professional designer from the rest of us is that the professional has the ability to quickly determine what the thing is that we like is called, and then determine why we like that thing in order provide alternatives based on that desire. I think that ability to "get it" comes from education and exposure to different styles, essentially transforming their subconscious catalog of personally desirable styles into a conscious catalog of styles unbiased by personal taste.
I'm not a professional designer. I often look at how other people have expressed their personal style and I just don't get it. That's not to say I don't appreciate their efforts and understand the labor they've put in to expressing their personal style. It is also not my intention to say the style we've chosen to create for the Kester house is "better" than what someone else has chosen for their living space - I try not to judge the intent of other's expression, and hope that others give us the same consideration when looking at our project. On the other hand, I certainly scrutinize the way in which others have implemented the same style as what we're attempting to create, judging the quality of workmanship and comparing the design elements they've chosen to include or reject with the design elements in our project.
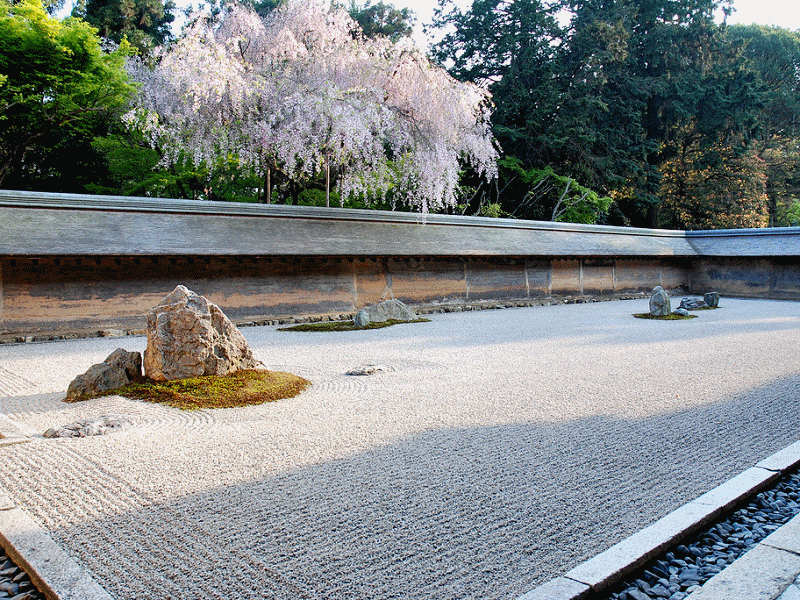
Once I've managed to determine the name or category for the elements that I like, I can begin to understand the various styles that include those elements as a defining element of that style. With that knowledge I can figure out what other elements are included within that given style, and determine if that style is something I want to pursue further. Keep in mind I'm not trying to actually construct a textbook example of this style or that, I merely want the correct terminology at my disposal to learn more about a particular style. An example of this process is our karesansui. A few years ago I had no idea what a karesansui was, but I liked the look of "those white, raked gravel, Zen garden things" I'd seen in pictures of Japanese temples. I thought it would be interesting to include a white gravel garden in our landscape design, so through research I determined it's a defining design element of the Karesansui or dry landscape garden.
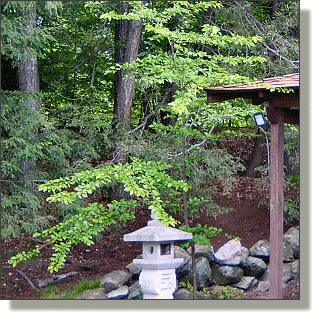
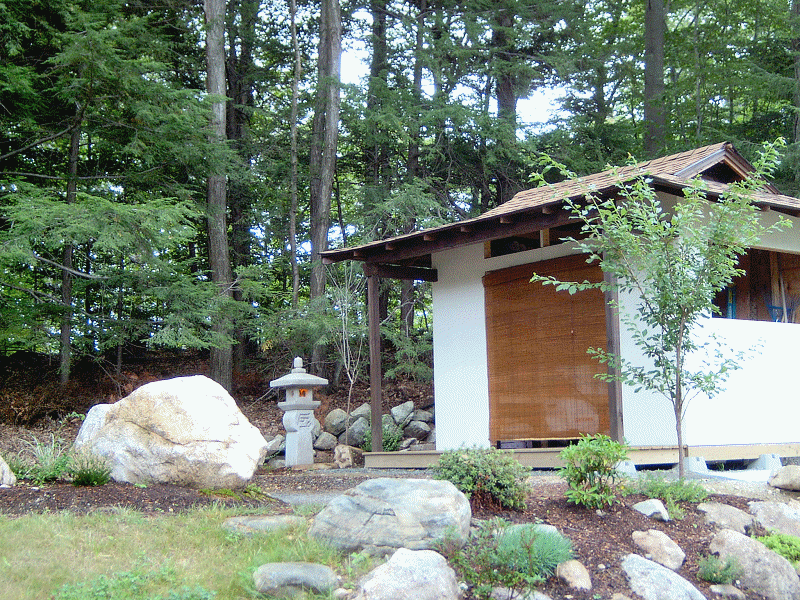
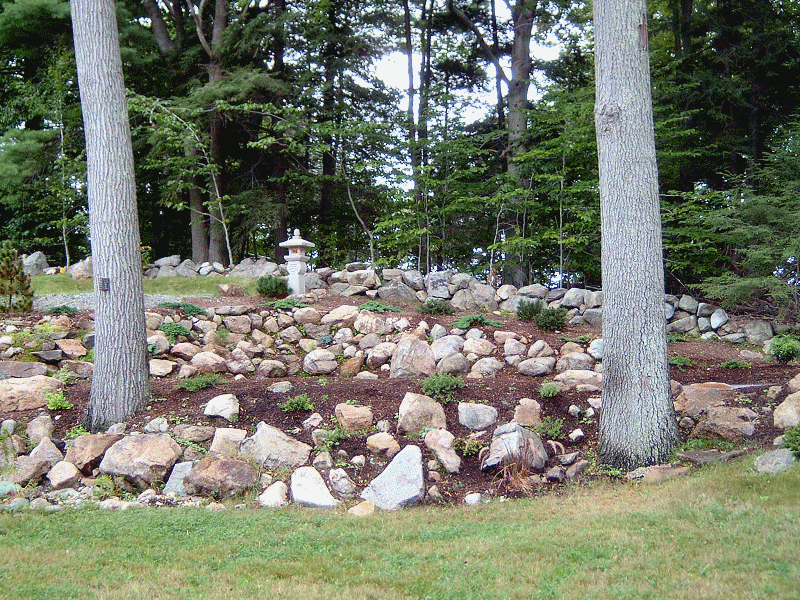
A few examples of Japanese garden styles. (4 photos)
Other styles of Japanese gardens include: The Tsukiyama which may be defined as a space that reproduces a large well known or imaginary landscape in a small scale, often combined with the Kiayu-shiki or strolling garden which is created for observers to walk through in order to gain a full appreciation of the garden. The Tsubo Niwa or courtyard garden could be considered a type of Kanshoh style garden, which is made to be viewed from a residence (as opposed to the stroll garden). And the Roji or tea garden, which is often an enclosed garden and serves as a transitional space from the outside world to the inner world of the tea house. I found that most of these styles of garden include very similar design elements, such as water (either symbolic like the dry landscape, or an actual pond or stream), rocks, some manner of building such as a tea house or pavilion, a lantern of stone or iron, a stone path or bridge, all with plantings including moss, ferns, pines, and numerous woody shrubs to provide a variety of foliage types.
Armed with the daunting array of design elements and number of fine examples from books and the 'net of what makes a Japanese garden unique, we then considered the practical limitations of our site and budget to try and determine what we could realistically create in our own yard. My approach here was to pick a style that incorporated the elements we knew we liked, then see if there were other elements we had not considered, as well as determine the plants our climate could support in relation to the chosen garden style. We had pretty much determined before the septic installation that we wanted to include the dry-landscape, a pond, an out-building or two, and stone lanterns as major design elements. Once the septic work was done we made the commitment to start the construction of some of the elements since the yard was destroyed and we had access to heavy equipment that was still on site.
Building the Garden
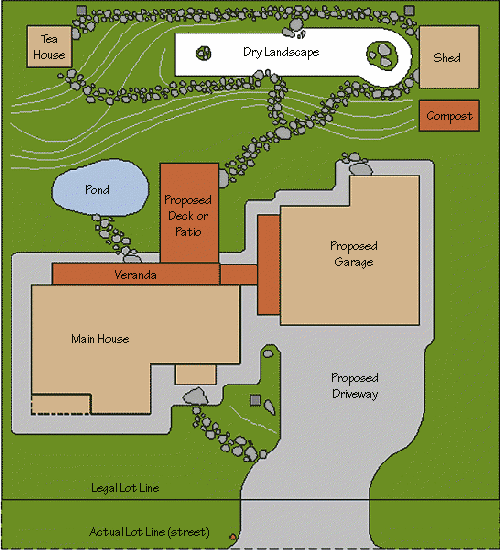
Layout of plot and hard scape elements.
When considering the size and topography of the yard along with the design elements we desired, it became clear that the tea garden was the style best suited as a basis for our own design. We were already planning a shed in the Northeast corner, and that would work well as a pavilion to view the dry-garden or as a waiting place (machi-ai) for guests when visiting the tea house. The changes in elevation of the site would allow various elements to remain hidden from view when you first view the garden from the house, and help create an atmosphere of discovery as you move through the garden from the main house to the pavilion then to the tea house. The site also allows sound to play a role as you experience the garden: with the pond and waterfall placed on a lower level than the pavilion and tea house, you sense a greater change in your surroundings as you move from place to place and the sound of water seems more distant than it is in reality. The stone lanterns to cover the septic vents ended up in an ideal position next to the pavilion and tea house, and a stone path would make sense to connect the major elements and invite movement through the garden.
We decided to get the hole for the pond dug while the equipment from the septic installation was still here, so that became one of the first major yard projects. Once the hole was made, we hired a Bobcat operator to deliver top soil and perform the initial grading of the yard. He also made an attempt at building the dry-garden by installing a weed barrier fabric over the leach field, then spreading a few inches of stone dust over that to act as a base for the white gravel we would add later. However as I said in the Garden intro section, I ended up re-doing a lot of his work by hand.
Garden construction projects generally progressed along in the following order, with many projects taking place at the same time. The first seven items were completed in 2003, with the tea house construction (mostly) done in 2004. We started adding about 20 bags of white gravel a year to the dry-landscape a few years ago (60 bags so far), and I added new grey brick border around it this summer (2008) to add a bit of definition as well.
- Grade top soil and plant grass seed
- Install pond plumbing and filtration system
- Re-grade dry landscape
- Purchase and install plants
- Install irrigation system
- Build garden tool / potting shed
- Build stone lanterns
- Build tea house
- Build decks (engawa & tsukimi-dai)
- Re-locate West property line retaining wall
- Install new bamboo root barrier
- Build garden fences
- Install stone paths (not started)
- Build stone lanterns for front yard and behind deck (not started)
Garden Plants
With the heavy equipment gone, we got right to work on the pond (see the Pond section for details), as well as selecting plants for the garden. Many of the Japanese garden books we'd read had excellent listings of appropriate plants to select from, but of course those lists need to be balanced with the individual needs of each plant for soil acidity, drainage, available sunlight and climate in our part of the world. Once we'd determined our "ideal" plant list, we then had to consider availability and costs, which turned the ideal list into something completely different by the time we started actually shopping. I believe we've managed to put together a good variety of texture and color within the limits of cost and availability, and we've snuck in a few of the stereotypical "must have" plants we felt we had to include in a proper Japanese style garden.

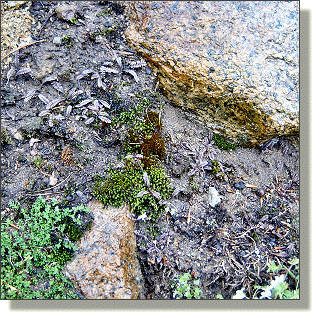
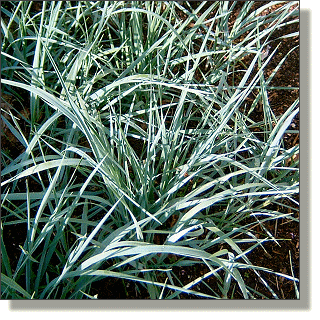
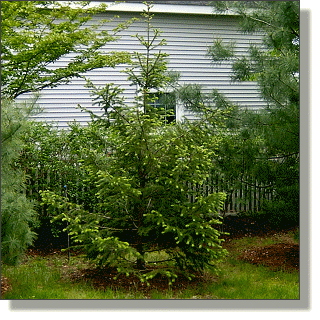
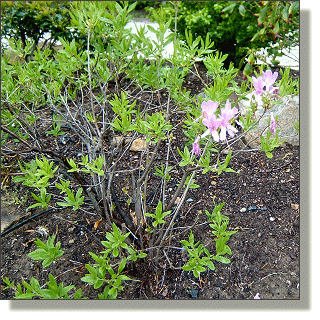
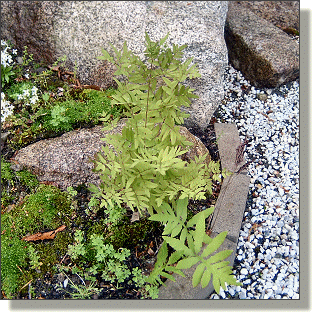
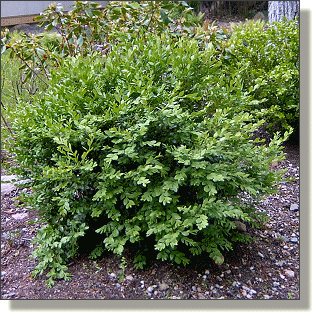
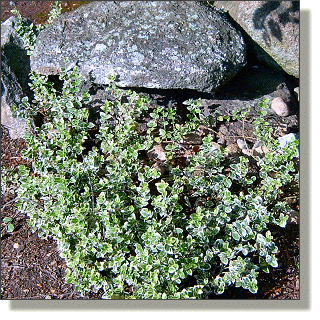
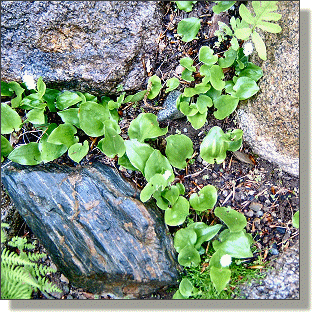
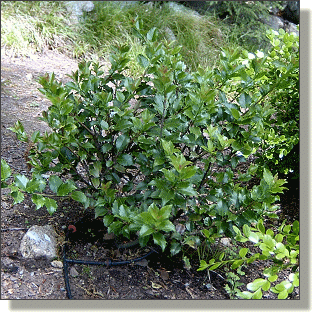
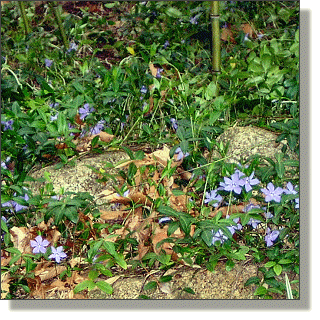
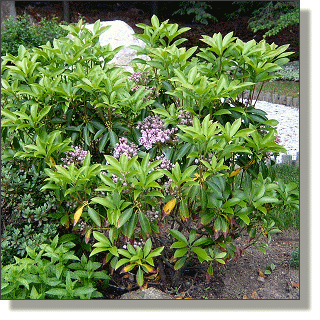
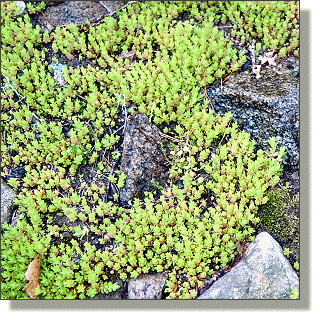
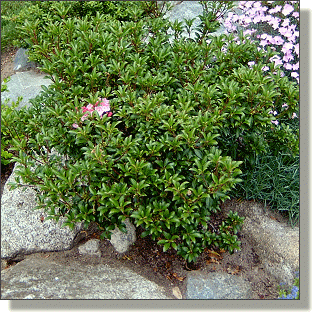
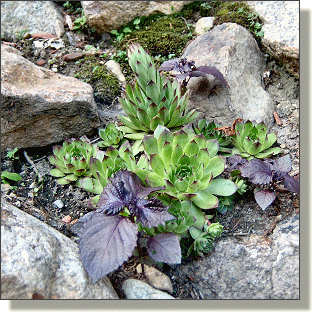
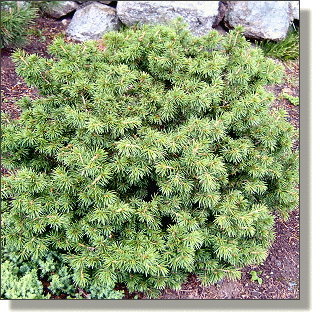
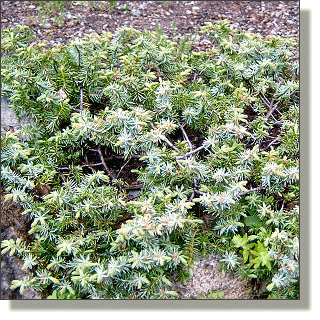
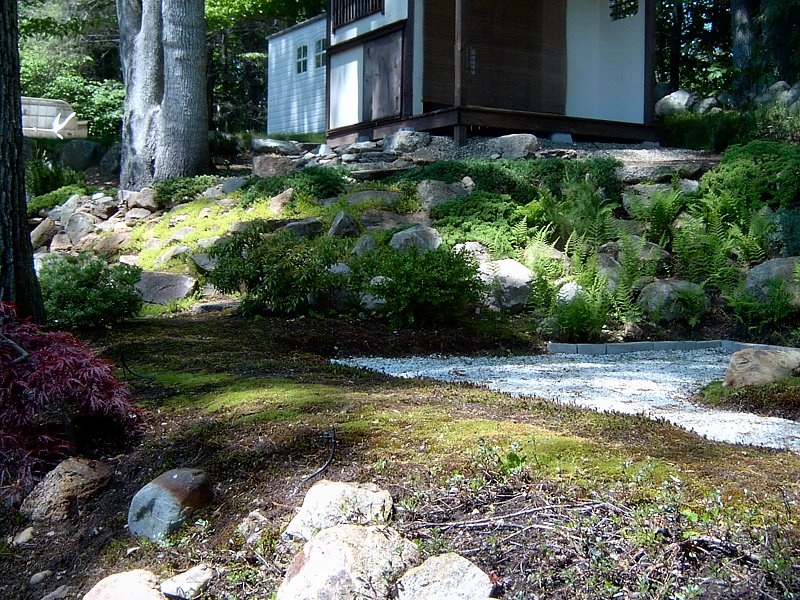
Groups of plants in the garden. (3 photos)
We enjoy the ability to browse an outstanding selection of Japanese miniature pines and broad leaf evergreens at one of our local nurseries, which really helped the decision making process by allowing us to see the plants up close and personal that the books had talked about. Unfortunately many of what we deemed the most desirable selections were either incredibly expensive, or had such a slow growth habit that they would require decades to reach their mature size. We found rather quickly that we'd have to determine if we wanted a handful of large (expensive) specimen plants, adding a few more plants each year, or if we'd instead go for a lot of small (inexpensive) simple varieties that might look a little silly at first but would eventually fill in quite nicely. Either way, the garden would either look empty, or be peppered with tiny plants, since filling the garden with mature plants would cost far more than we were willing to spend. We decided to go for the second option, with a few notable exceptions, and turned our attentions to the selections available at the local Home Depot and Lowes garden centers.
I must say we've been pleasantly surprised by what we've been able to obtain from the "big box" garden centers over the years, and the prices have been very reasonable. We found many of the plants we wanted in the 1 and 2 gallon size for $5 to $15 each from Home Depot or Lowes, while the exact same plant in the same size pot would command upwards of $40 at the specialty nursery. While the chances of survival may indeed be better with the $40 plant, if the $5 one dies, I'd just toss it in the compost and go buy another (and both Home Depot and the specialty nursery usually offer a 1 year warranty on the plant anyway). Purchasing whatever we could from the big box stores also meant there was room in the budget to get those interesting specimen plants that are only available from the specialty nursery.
Our Plant List
With the different elevations of our garden loosely defined by rock-faced terraces, I decided to use each of those areas as a "container" for different types of plants. I doubt the casual observer would even notice, but this idea helped us determine how we'd distribute the plants we wanted to include in the garden. This concept of elevation changes defining plant varieties also falls in with the idea of the tsukiyama style garden as it portrays an imaginary landscape in miniature.
Since this list was compiled years ago during the initial garden construction, a few of the plants below didn't survive more than a couple seasons. I still think the listing of what was originally included (along with the little pop-up photos) is kinda nifty. Rather than just remove the plants the no longer exist, I've kept them in the list, but with a "strike through" typeface to indicate they didn't make it. Most of what we lost and didn't replace were low flowering plants, which we really don't miss as the woody shrubs have filled in very nicely. The two big Red Oaks also had to go away, unfortunately.
Note: you may hover your cursor over the "¤" symbol in the table to view a small image of the plant.
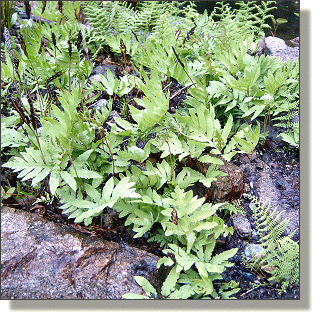
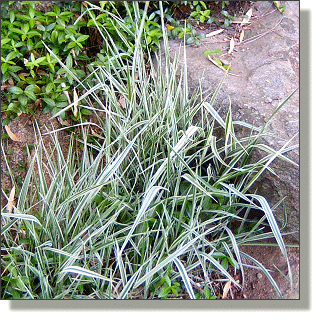
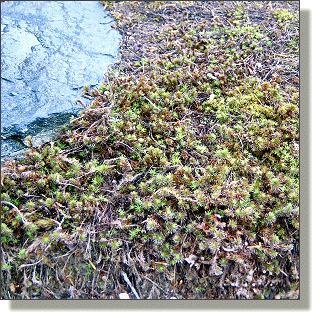
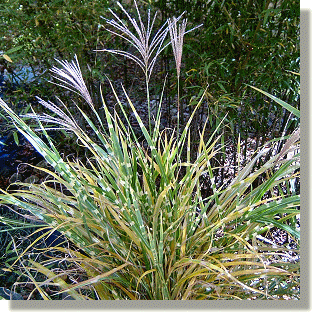
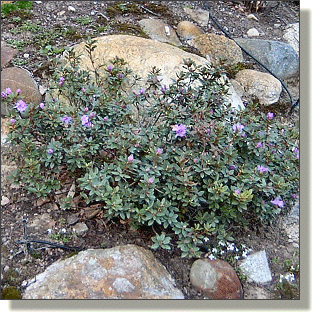
Plants in the first tier, or "valley"
The lowest section of the yard, directly behind the house and the area around the pond, I consider our ground level "valley floor", and populated this area with grasses, ferns, bamboo and ground covers. This area will eventually include a deck or patio most likely surrounded with Iris, but for now the majority of this section is covered with lawn. This section also contains a number of creeping herbs and mosses that grow in the rocks between the "valley" and the "foothills".
| Ferns & Mosses | Ornamental Grasses |
 ¤
Black Brass Buttons Leptinella x 'Platt's Black' ¤
Black Brass Buttons Leptinella x 'Platt's Black' |
 ¤
Blue Dune Grass Leymus arenarius ¤
Blue Dune Grass Leymus arenarius |
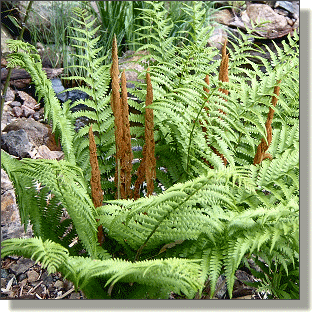 ¤
Cinnamon Fern Osmunda cinnamomea * ¤
Cinnamon Fern Osmunda cinnamomea * |
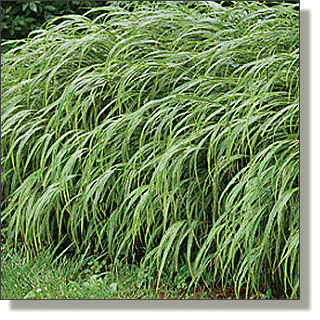 ¤
Japanese Forest Grass Hakonechloa macra 'Alba-Striata' ¤
Japanese Forest Grass Hakonechloa macra 'Alba-Striata' |
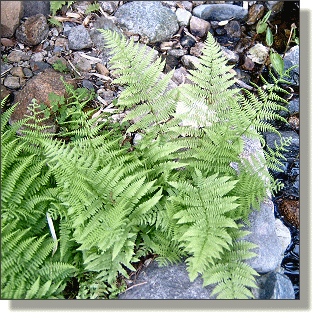 ¤
Lady Fern Athyrium filix-femina * ¤
Lady Fern Athyrium filix-femina * |
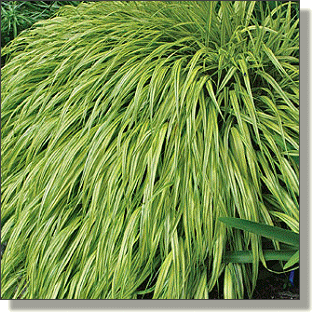 ¤
Japanese Forest Grass Hakonechloa macra 'Aureola' ¤
Japanese Forest Grass Hakonechloa macra 'Aureola' |
 ¤
Sensitive Fern Onoclea sensibilis * ¤
Sensitive Fern Onoclea sensibilis * |
 ¤
Japanese Silver Grass Miscanthus sinensis 'Variegatus' ¤
Japanese Silver Grass Miscanthus sinensis 'Variegatus' |
 ¤
Common Haircap Moss Polytrichum commune * ¤
Common Haircap Moss Polytrichum commune * |
 ¤
Zebra Grass Miscanthus sinensis 'Zebrinus' ¤
Zebra Grass Miscanthus sinensis 'Zebrinus' |
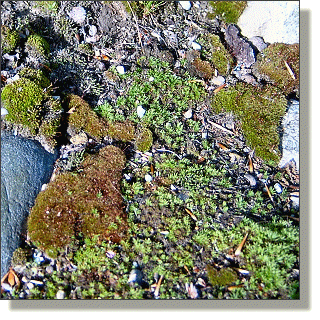 ¤
Cushion Moss Leucobryum glaucum * ¤
Cushion Moss Leucobryum glaucum * |
Herbs |
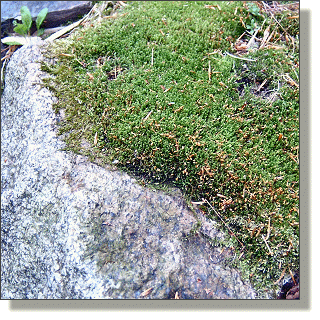 ¤
Rock Cap Moss Dicranum flagellare * ¤
Rock Cap Moss Dicranum flagellare * |
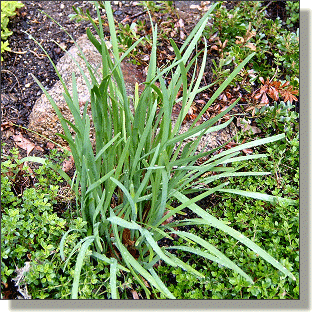 ¤
Garlic Chives Allium tuberosum ¤
Garlic Chives Allium tuberosum |
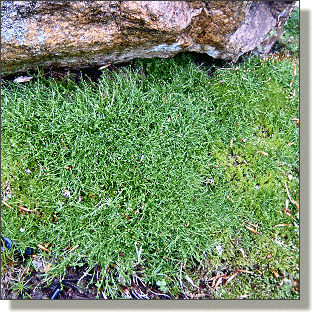 ¤
Scotch Moss Sagina subulata 'Aurea' * ¤
Scotch Moss Sagina subulata 'Aurea' * |
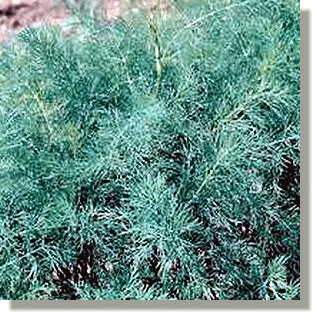 ¤
Aneth Dill Anethum graveolens ¤
Aneth Dill Anethum graveolens |
| Flowers & Foliage | 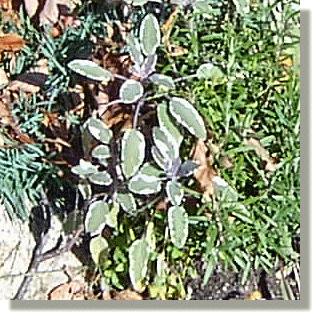 ¤
Greek Oregano Origanum heracleoticum ¤
Greek Oregano Origanum heracleoticum |
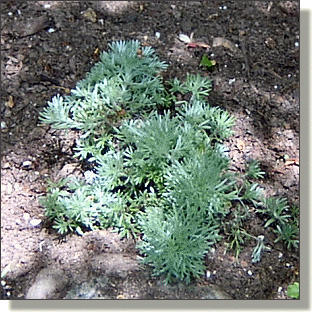 ¤
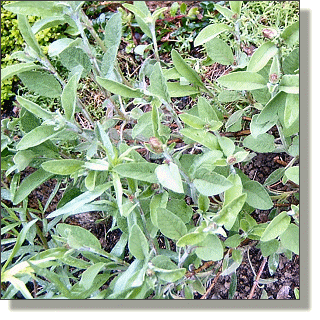
Artemisia Silver Mound Artemisia schmidtiana 'Silver Mound' ¤
Artemisia Silver Mound Artemisia schmidtiana 'Silver Mound' |
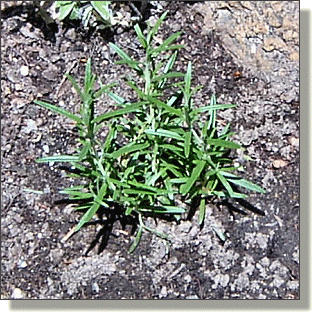 ¤
Rosemary Rosmarinus officinalis ¤
Rosemary Rosmarinus officinalis |
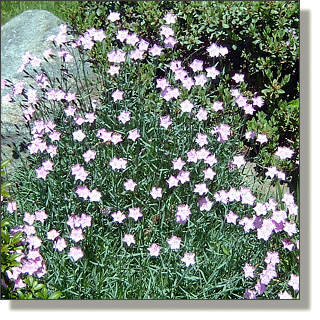 ¤
Bath's Pink Dianthus Dianthus x gratianopolitanus ¤
Bath's Pink Dianthus Dianthus x gratianopolitanus |
 ¤
Common Sage Salva officinalis ¤
Common Sage Salva officinalis |
 ¤
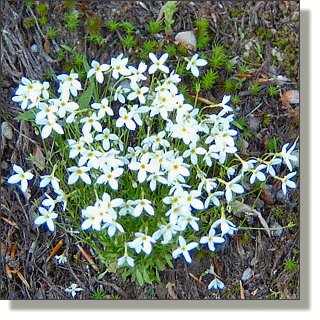
Bluet Houstonia caerulea * ¤
Bluet Houstonia caerulea * |
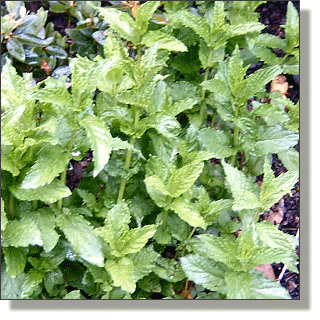 ¤
Spearmint Mentha spicata ¤
Spearmint Mentha spicata |
 ¤
Bugleweed 'Burgundy Glow' Ajuga reptans ¤
Bugleweed 'Burgundy Glow' Ajuga reptans |
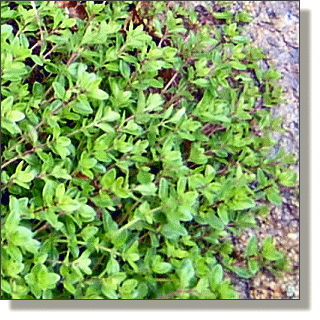 ¤
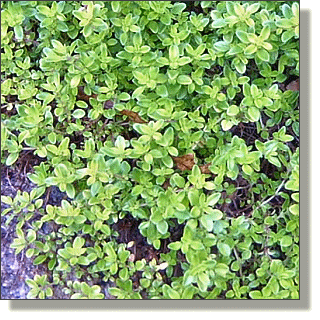
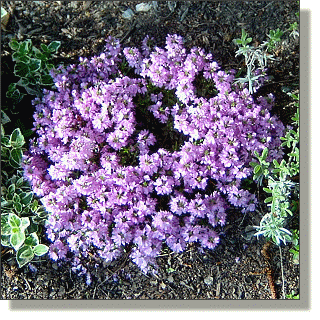
Mother of Thyme Thymus serpyllum ¤
Mother of Thyme Thymus serpyllum |
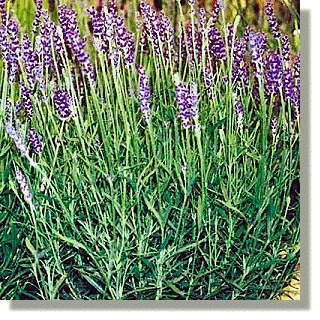 ¤
Hidcote Blue Lavender Lavandula angustifolia ¤
Hidcote Blue Lavender Lavandula angustifolia |
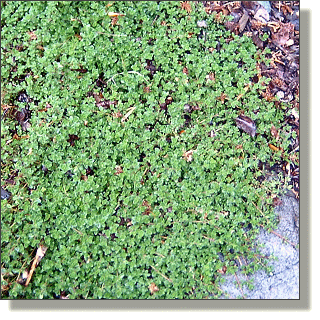 ¤
Compact Thyme Thymus vulgaris 'Compacta' ¤
Compact Thyme Thymus vulgaris 'Compacta' |
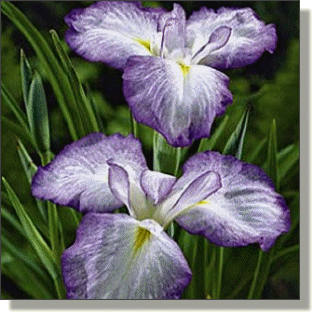 ¤
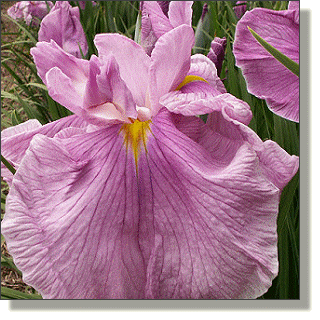
Japanese Iris 'Gracieuse' Iris ensata 'Gracieuse' ¤
Japanese Iris 'Gracieuse' Iris ensata 'Gracieuse' |
 ¤
Golden Thyme Thymus serpyllum 'Aureus' ¤
Golden Thyme Thymus serpyllum 'Aureus' |
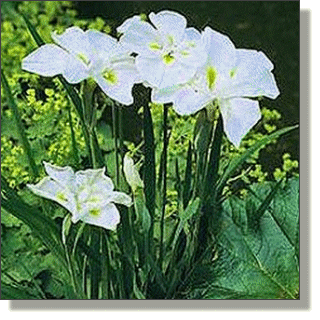 ¤
Japanese Iris 'Mount Fuji' Iris ensata 'Mount Fuji' ¤
Japanese Iris 'Mount Fuji' Iris ensata 'Mount Fuji' |
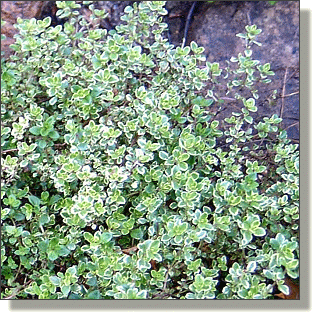 ¤
Lemon Thyme Thymus citriodorus 'Variegata' ¤
Lemon Thyme Thymus citriodorus 'Variegata' |
 ¤
Japanese Iris 'Picotee Wonder' Iris ensata 'Picotee Wonder' ¤
Japanese Iris 'Picotee Wonder' Iris ensata 'Picotee Wonder' |
 ¤
Red Creeping Thyme Thymus coccineum ¤
Red Creeping Thyme Thymus coccineum |
 ¤
Japanese Iris 'Pink Lady' Iris ensata 'Pink Lady' ¤
Japanese Iris 'Pink Lady' Iris ensata 'Pink Lady' |
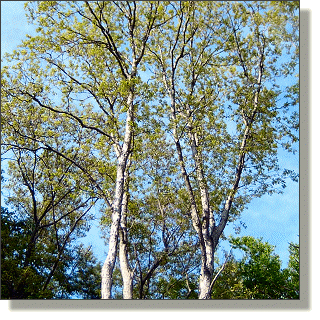
Trees & Shrubs (Most of these are in the Eastern side yard) |
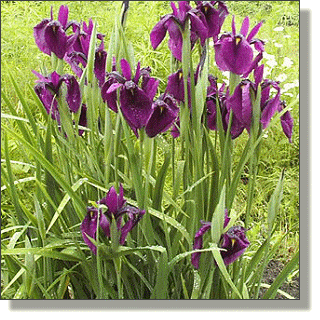 ¤
Japanese Iris 'Royal Robes' Iris ensata 'Royal Robes' ¤
Japanese Iris 'Royal Robes' Iris ensata 'Royal Robes' |
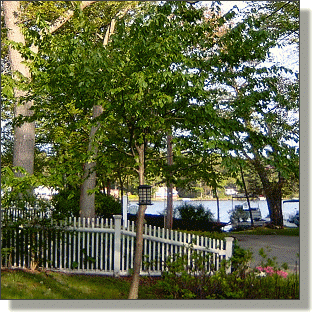 ¤
Black Birch Betula lenta * ¤
Black Birch Betula lenta * |
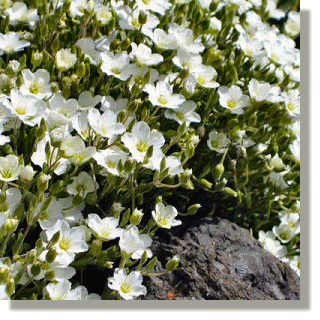 ¤
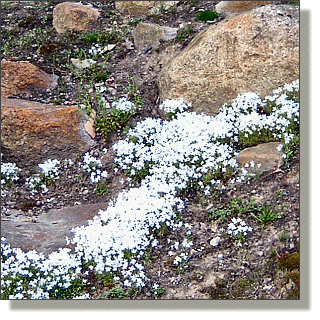
Mountain Sandwort Arenaria montana ¤
Mountain Sandwort Arenaria montana |
 ¤
Blue Spruce Picea pungens * ¤
Blue Spruce Picea pungens * |
 ¤
Pink Stonecrop Sedum ewersii ¤
Pink Stonecrop Sedum ewersii |
 ¤
Common Privet Ligustrum vulgare ¤
Common Privet Ligustrum vulgare |
 ¤
Rock Stonecrop Sedum forsterianum elegans ¤
Rock Stonecrop Sedum forsterianum elegans |
 ¤
Eastern Hemlock Tsuga canadensis * ¤
Eastern Hemlock Tsuga canadensis * |
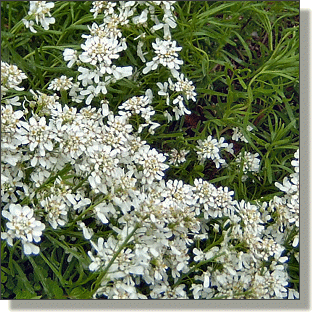 ¤
Snow White Candytuft Iberis sempervirens 'Snow White' ¤
Snow White Candytuft Iberis sempervirens 'Snow White' |
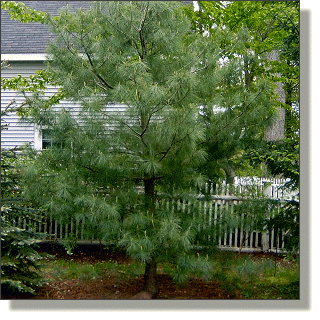 ¤
Eastern White Pine Pinus strobus * ¤
Eastern White Pine Pinus strobus * |
 ¤
Trehane Speedwell Veronica austriaca 'Trehane' ¤
Trehane Speedwell Veronica austriaca 'Trehane' |
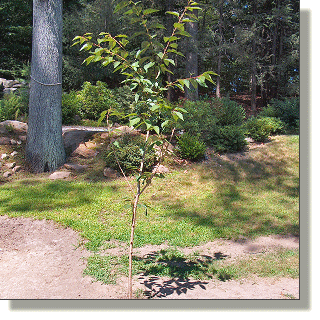 ¤
Kwanzan Flowering Cherry Prunus serrulata 'Kwanzan' ¤
Kwanzan Flowering Cherry Prunus serrulata 'Kwanzan' |
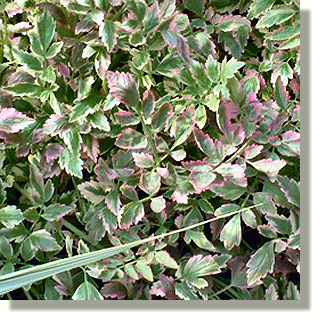 ¤
Variegated Water Celery Oenanthe javanica 'Flamingo' ¤
Variegated Water Celery Oenanthe javanica 'Flamingo' |
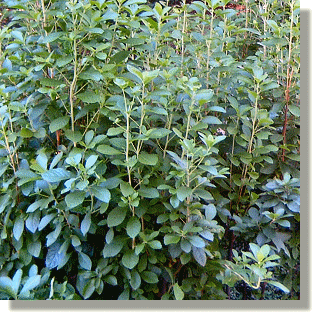 ¤
Sweet Pepperbush Clethra alnifolia * ¤
Sweet Pepperbush Clethra alnifolia * |
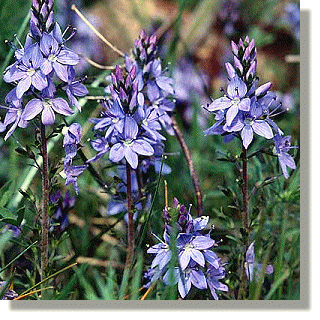 ¤
Wine Speedwell Veronica prostrata ¤
Wine Speedwell Veronica prostrata |
 ¤
White Spruce Picea glauca * ¤
White Spruce Picea glauca * |
| * indicates plants which were transplanted locally, or were already on site. | |
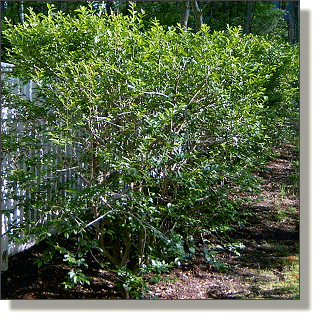
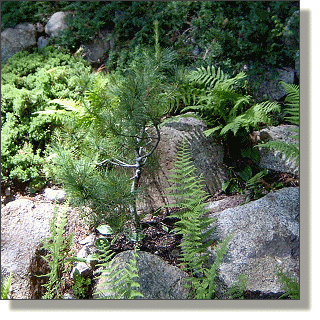
Plants in the middle tier, or "foothills"
The middle section of the yard, which contains the karesansui and the garden shed, I consider our "foothills or woodland", and is populated with deciduous trees, woody shrubs, and broad leaf evergreens. This section also contains some bamboo, additional ground covers and ferns to provide a transition from the "valley".
| Ferns, Mosses & Ground covers | Woody Shrubs |
| ¤
Lady Fern Athyrium filix-femina * |
 ¤
Orchid Lights Azalea Rhododendron 'Orchid Lights' ¤
Orchid Lights Azalea Rhododendron 'Orchid Lights' |
 ¤
Royal Fern Osmunda regalis * ¤
Royal Fern Osmunda regalis * |
 ¤
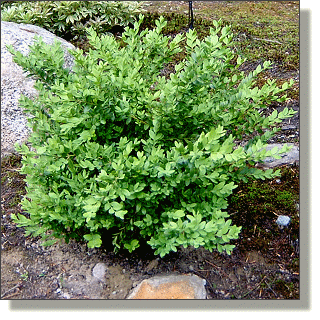
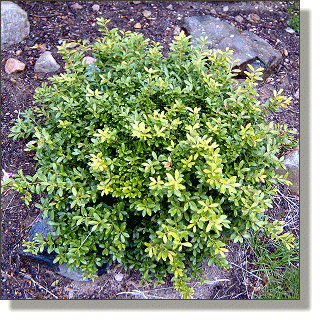
Green Beauty Boxwood Buxus microphylla japonica 'Green Beauty' ¤
Green Beauty Boxwood Buxus microphylla japonica 'Green Beauty' |
| ¤
Common Haircap Moss Polytrichum commune * |
 ¤
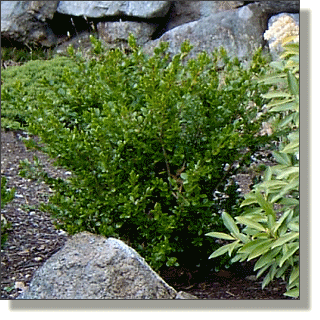
Green Mountain Boxwood Buxus microphylla 'Green Mountain' ¤
Green Mountain Boxwood Buxus microphylla 'Green Mountain' |
| ¤
Rock Cap Moss Dicranum flagellare * |
 ¤
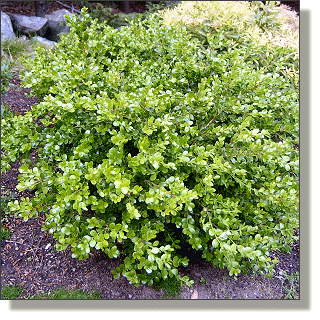
Green Velvet Boxwood Buxus microphylla 'Green Velvet' ¤
Green Velvet Boxwood Buxus microphylla 'Green Velvet' |
| ¤
Scotch Moss Sagina subulata 'Aurea' * |
 ¤
Winter Gem Boxwood Buxus microphylla koreana 'Winter Gem' ¤
Winter Gem Boxwood Buxus microphylla koreana 'Winter Gem' |
 ¤
Bluet Houstonia caerulea * ¤
Bluet Houstonia caerulea * |
 ¤
Emerald Gaiety Eunonymus Eunonymus fortunei 'Emerald Gaiety' ¤
Emerald Gaiety Eunonymus Eunonymus fortunei 'Emerald Gaiety' |
 ¤
Canada Mayflower Maianthemum canadense * ¤
Canada Mayflower Maianthemum canadense * |
 ¤
European Holly Ilex aquifolium ¤
European Holly Ilex aquifolium |
 ¤
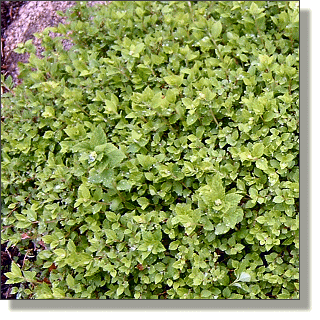
Creeping Myrtle Vinca minor * ¤
Creeping Myrtle Vinca minor * |
 ¤
Mountain Laurel Kalmia latifolia 'Tinkerbell' ¤
Mountain Laurel Kalmia latifolia 'Tinkerbell' |
 ¤
Gold Moss Sedum Sedum sarmentosum ¤
Gold Moss Sedum Sedum sarmentosum |
 ¤
Mountain Laurel Kalmia latifolia 'Olympic Fire' ¤
Mountain Laurel Kalmia latifolia 'Olympic Fire' |
 ¤
Hens and Chicks Sempervivum tectorum ¤
Hens and Chicks Sempervivum tectorum |
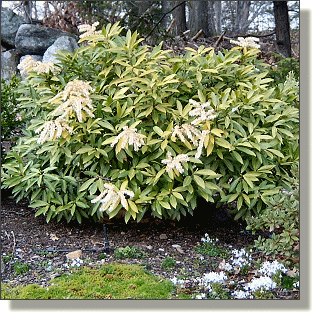 ¤
Brouwer's Beauty Pieris Pieris x 'Brouwer's Beauty' ¤
Brouwer's Beauty Pieris Pieris x 'Brouwer's Beauty' |
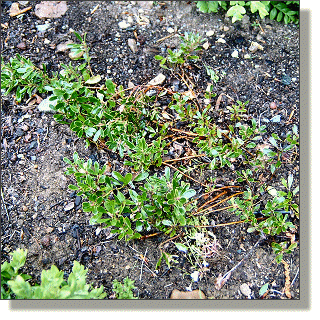 ¤
Kinnikinnick Arctostaphylos uva-ursi ¤
Kinnikinnick Arctostaphylos uva-ursi |
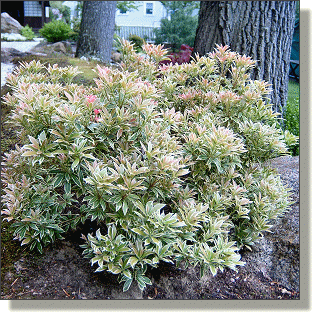 ¤
Variegated Japanese Pieris Pieris japonica 'Variegata' ¤
Variegated Japanese Pieris Pieris japonica 'Variegata' |
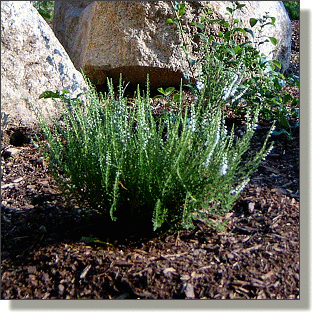 ¤
White Summer Heather Calluna vulgaris 'Maires' ¤
White Summer Heather Calluna vulgaris 'Maires' |
 ¤
Purple Gem Rhododendron Rhododendron 'Purple Gem' ¤
Purple Gem Rhododendron Rhododendron 'Purple Gem' |
| Trees | 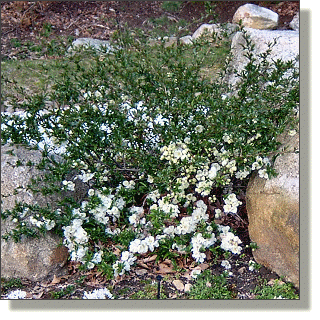 ¤
Flowering Quince Chaenomeles x superba 'Jet Trail' ¤
Flowering Quince Chaenomeles x superba 'Jet Trail' |
 ¤
European Beech Fagus sylvatica * ¤
European Beech Fagus sylvatica * |
|
 ¤
Northern Red Oak Quercus rubra * ¤
Northern Red Oak Quercus rubra * |
|
 ¤
Dwarf Burbank Plum Prunus salicina 'Burbank' ¤
Dwarf Burbank Plum Prunus salicina 'Burbank' |
|
 ¤
Yoshino Flowering Cherry Prunus x yedoensis ¤
Yoshino Flowering Cherry Prunus x yedoensis |
|
| * indicates plants which were transplanted locally, or were already on site. | |
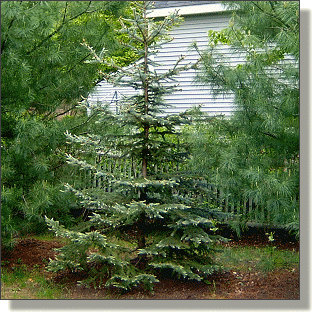
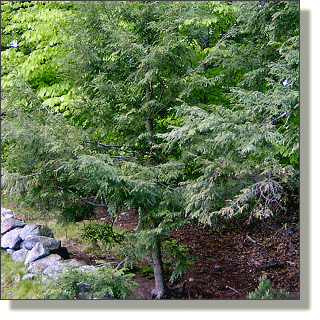
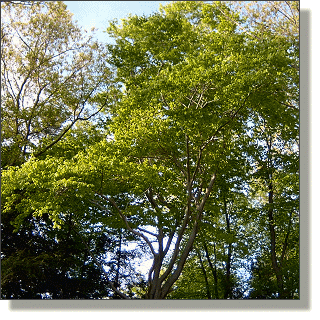
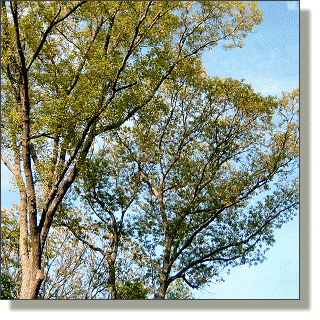
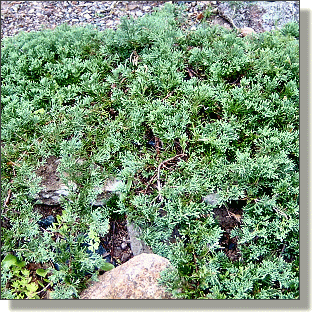
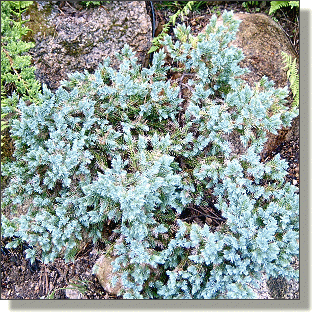
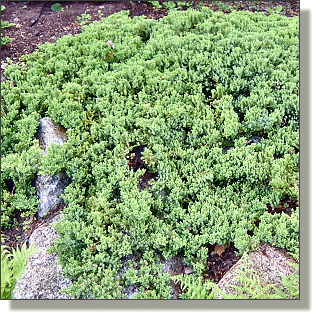
Plants in the upper tier, or "mountain"
The upper section of the yard, which contains the tea house, I consider our "mountain retreat", and is populated exclusively with a variety of needle leaf evergreens. Beyond this section (past the stone wall the defines the rear boundary of the lot), I've recently transplanted a number of White pines from the local woods in hopes they'll take hold and provide a four season screen and backdrop to the entire yard as well.
 ¤
Bird's Nest Spruce Picea abies ¤
Bird's Nest Spruce Picea abies |
 ¤
Blue Pacific Juniper Juniperus conferta 'Blue Pacific' ¤
Blue Pacific Juniper Juniperus conferta 'Blue Pacific' |
 ¤
Blue Rug Juniper Juniperus horizontalis 'Wiltonii' ¤
Blue Rug Juniper Juniperus horizontalis 'Wiltonii' |
 ¤
Blue Star Juniper Juniperus squamata 'Blue Star' ¤
Blue Star Juniper Juniperus squamata 'Blue Star' |
| ¤
Canada Mayflower Maianthemum canadense * |
 ¤
Dwarf Japanese Garden Juniper Juniperus procumbens 'Nana' ¤
Dwarf Japanese Garden Juniper Juniperus procumbens 'Nana' |
| ¤
Eastern Hemlock Tsuga canadensis * |
 ¤
Eastern White Pine Pinus strobus * ¤
Eastern White Pine Pinus strobus * |
 ¤
Mugho Pine Pinus mugo mughus ¤
Mugho Pine Pinus mugo mughus |
 ¤
White Oak Quercus alba * ¤
White Oak Quercus alba * |
| * indicates plants which were transplanted locally, or were already on site. |
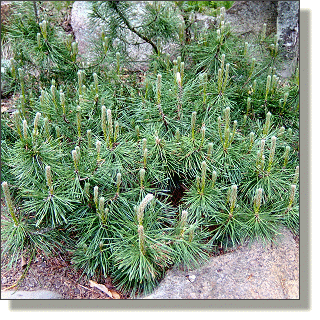
Specimen Plants and their Location
Specimen or specialty plants have been placed in certain locations to act as a focal point, or in locations where visitors to the garden will come in close contact with the plant. We've tried to emphasize interesting foliage in areas where one will pass the plant on a path, for example, or include plants that simply aren't seen too often in New England.
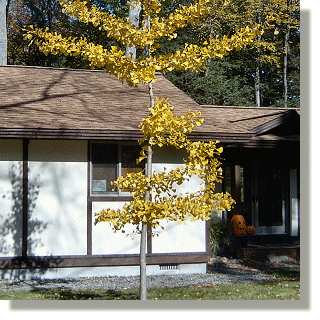 ¤
Maidenhair Tree (male) Ginkgo biloba ¤
Maidenhair Tree (male) Ginkgo biloba |
| Center of front yard. |
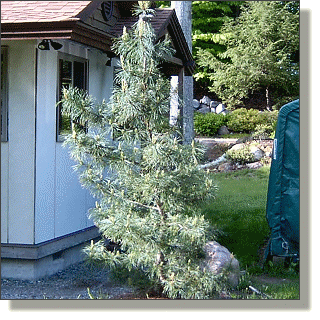 ¤
Silver Ray Korean Pine Pinus koraiensis 'Silver Ray' ¤
Silver Ray Korean Pine Pinus koraiensis 'Silver Ray' |
| Near front entrance, between house and driveway. |
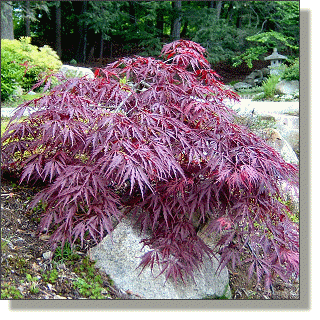 ¤
Red Lace leaf Weeping Japanese Maple Acer palmatum dissectum 'Inaba Shidare' ¤
Red Lace leaf Weeping Japanese Maple Acer palmatum dissectum 'Inaba Shidare' |
| Front of second tier next to path between the Red Oaks. |
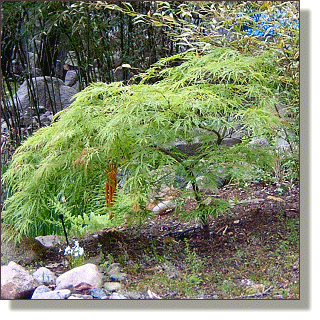 ¤
Green Lace leaf Weeping Japanese Maple Acer palmatum dissectum 'Waterfall' ¤
Green Lace leaf Weeping Japanese Maple Acer palmatum dissectum 'Waterfall' |
| Second tier, next to the waterfall. |
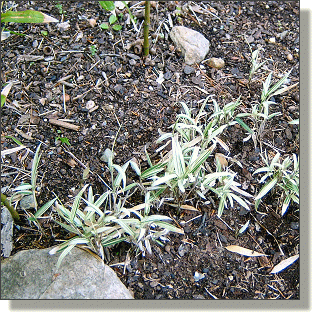 ¤
Dwarf Whitestripe Bamboo Pleioblastus variegatus (fortunei) ¤
Dwarf Whitestripe Bamboo Pleioblastus variegatus (fortunei) |
| Second tier, ground cover above pond. |
 ¤
Nuda Bamboo Phyllostachys nuda ¤
Nuda Bamboo Phyllostachys nuda |
| First and second tier backdrop, west side of pond. |
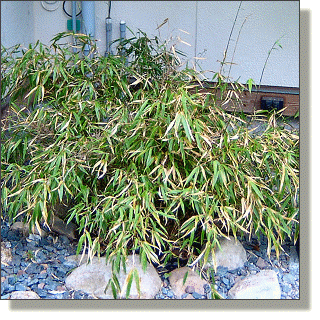 ¤
Rufa Clumping Bamboo Fargesia denudata 'Rufa' ¤
Rufa Clumping Bamboo Fargesia denudata 'Rufa' |
| Next to front door, in front of round window. |
 ¤
Hoogendorn Japanese Holly Ilex crenata 'Hoogendorn' ¤
Hoogendorn Japanese Holly Ilex crenata 'Hoogendorn' |
| Border both sides of path leading to pavilion from deck. |
The only major loss we suffered was the disappointing destruction of a really nice Japanese Black Pine Pinus thunbergii 'Thunderhead' by the pinewood nematode Bursaphelenchus xylophilus. This little beastie has recently been wreaking havoc on these beautiful trees throughout New England (including most of the stock at the nursery where we purchased the tree), so it doesn't look like we're going to enjoy one of this fine trees in our garden any time soon. Other than that, the plants have seemed quite happy, and they're getting big enough now that I can even start pruning some of them. We also started working on shaping our larger pine trees this year (2008) as we began the process candle pinching for the first time (Spring 2009 update - I've added details of the candle pinching process to the Garden intro page).
The Stone Lanterns
 "Candy-cane"
As the garden was starting to take shape back in the Summer of 2003, I began to consider one of what I felt was a very important design element for the garden: the stone lanterns. I knew I wanted to try and use the lanterns to cover our septic vent pipes that were a necessary evil with any new septic system. Unfortunately because our leach field was very long and narrow, it required two septic vent pipes, with one in each of the back corners. Typically the vent pipes are "candy canes" made of 4" PVC pipe, but I managed to get George to install straight pipe with a charcoal filter cap instead. That allowed me the flexibility to make something that would fit over the pipes to conceal them.
I'd looked at a number of Japanese lanterns, and settled on the Oribe style as something with a pleasant, simple form that would fit nicely with the look we were going for. The price to purchase a granite lantern and have it shipped here was more than I was willing to spend (since I prefer to spend nothing). There was also a little problem of the thing only having a small hole drilled in it for wiring - I needed a 4-1/2" hollow center to fit over my septic vents. It was clear that if I wanted lanterns to hide my septic vents, I'd have to make them myself.
Making the Stone Lanterns
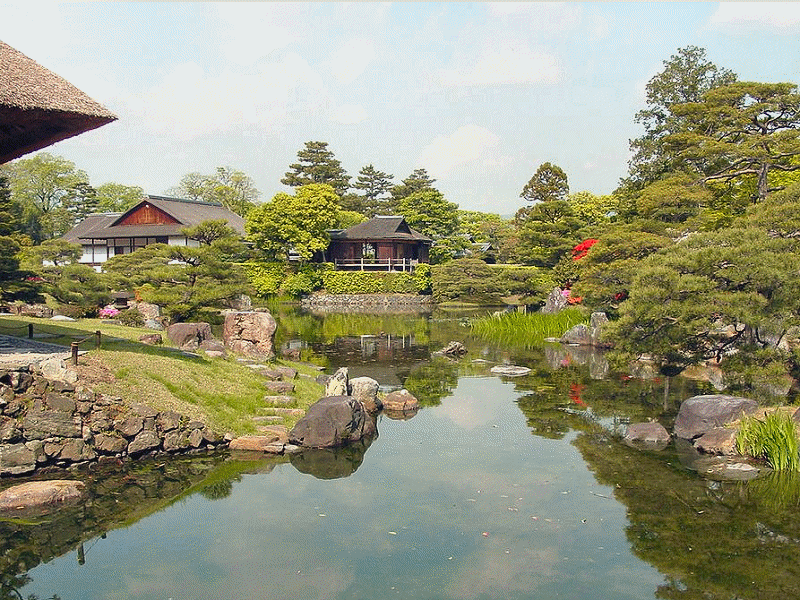
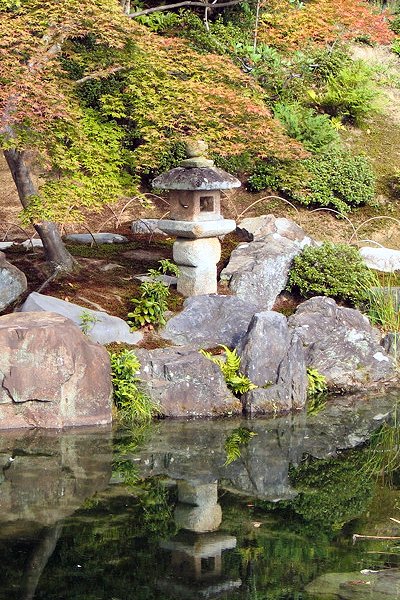 Oribe lantern at the Katsura Imperial Villa.
Carving a pair of Oribe style stone lanterns out of granite myself wasn't really an option - the carving didn't worry me as much as
how I'd get a 4 or 5 inch hole drilled through the core of the thing. The best option seemed like casting the units from cement.
Cement is heavy, and when it's done it looks like... well, cement. I poked around the internet a bit and ran across something I'd heard of before
but never really gave much thought: Hypertufa
![]() . There are a lot of "recipes"
out there that alter the color and density, so I figured I shouldn't have too much difficulty coming up with something that was a close
approximation of salt & pepper granite. I started with a mix of 2 parts white Portland cement and 1 part gray Portland cement
mixed with sand for strength to make the base color (all white looks like a marshmallow, all gray looks like cement rather than stone).
Then I experimented with additives including Vermiculite, Perlite, stone dust, peat moss, and "Black Beauty" sand blasting media.
I came up with a combination that had a good amount of black and white specs in it (the Perlite and Black Beauty), was
lightweight (the Vermiculite, Perlite and peat), and had the proper overall color and sparkle (the stone dust and Vermiculite) to
look like stone.
. There are a lot of "recipes"
out there that alter the color and density, so I figured I shouldn't have too much difficulty coming up with something that was a close
approximation of salt & pepper granite. I started with a mix of 2 parts white Portland cement and 1 part gray Portland cement
mixed with sand for strength to make the base color (all white looks like a marshmallow, all gray looks like cement rather than stone).
Then I experimented with additives including Vermiculite, Perlite, stone dust, peat moss, and "Black Beauty" sand blasting media.
I came up with a combination that had a good amount of black and white specs in it (the Perlite and Black Beauty), was
lightweight (the Vermiculite, Perlite and peat), and had the proper overall color and sparkle (the stone dust and Vermiculite) to
look like stone.
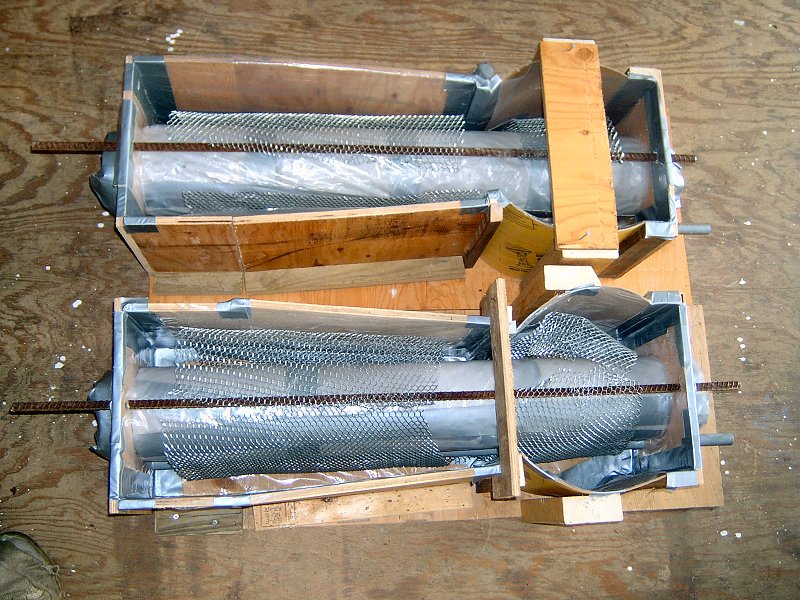
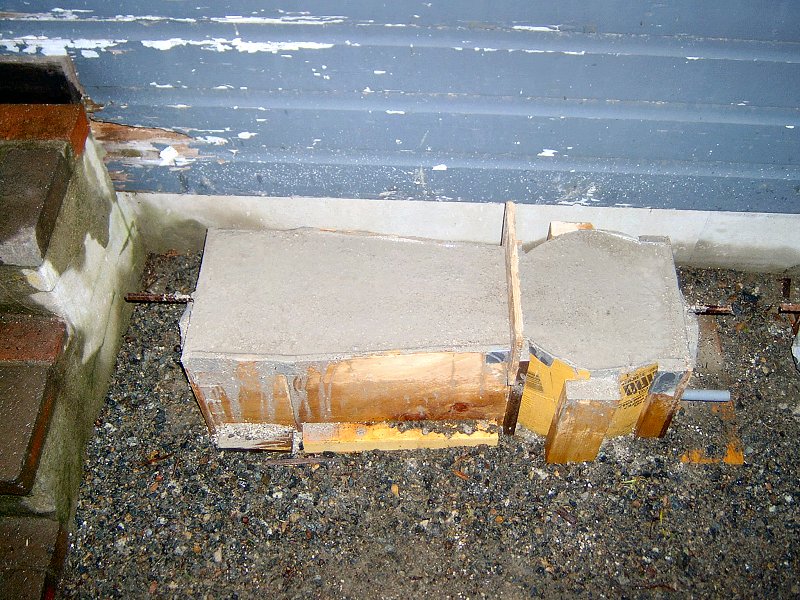
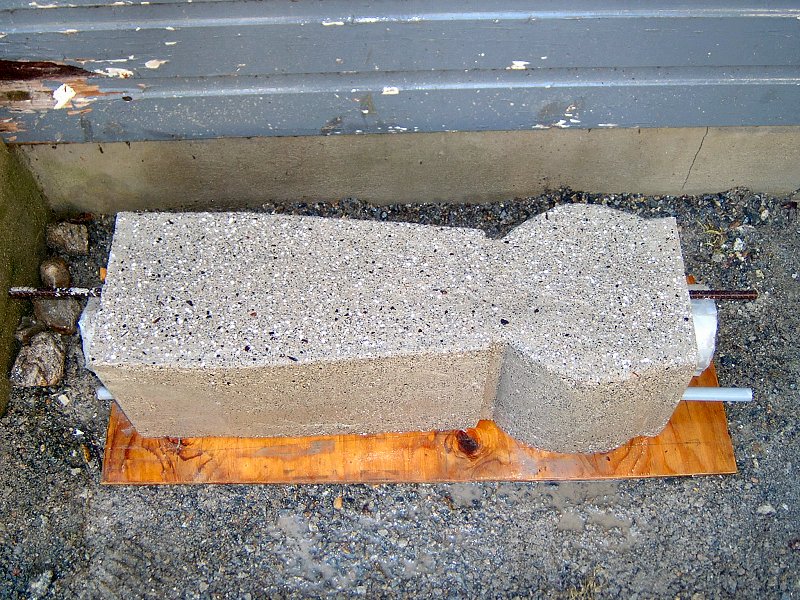
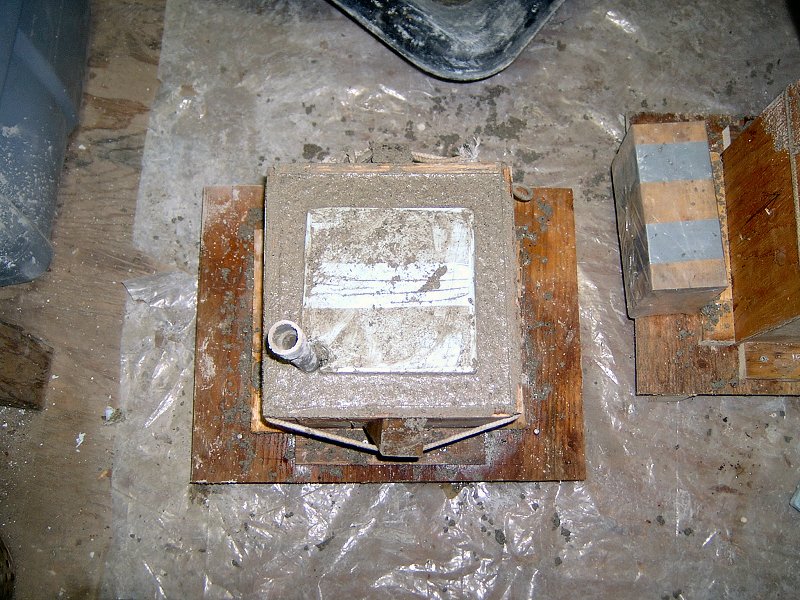
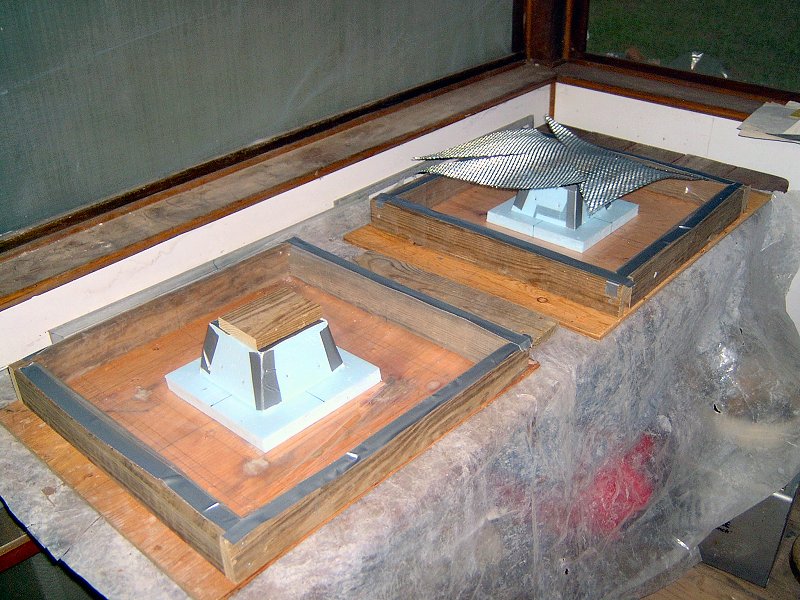
The next step was to figure out how big the pieces should be, and make some molds. I didn't plan on going into the garden lantern production business, so I designed the molds so they'd be destroyed after each piece was poured and unmolded to save time. A little quick work with some 1/2" plywood, a scrap piece of 1" thick foam board and some packing tape gave me what I needed. I had a decent photo of the lantern I wanted, so I sliced that into pieces on the computer so each slice represented each part of the mold, then compared the sizes of each image to got a good approximation of the relative sizes of each section to the other sections.
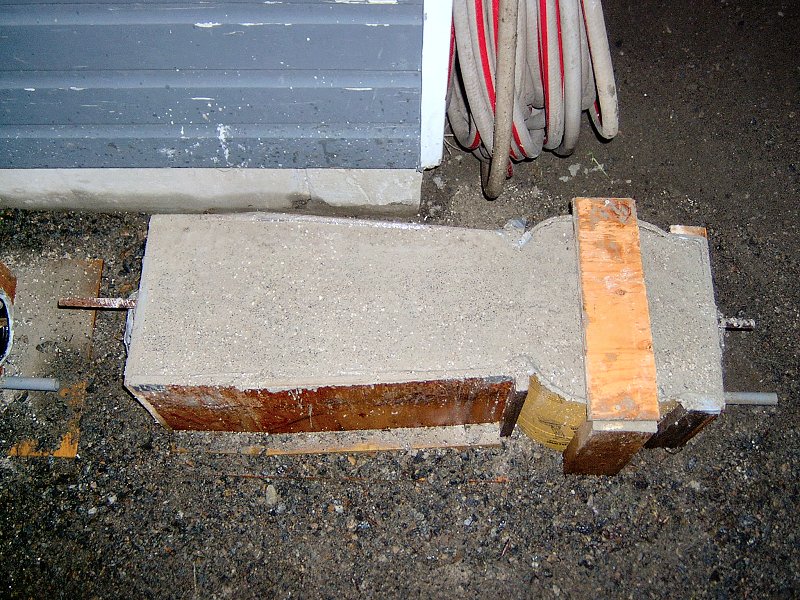
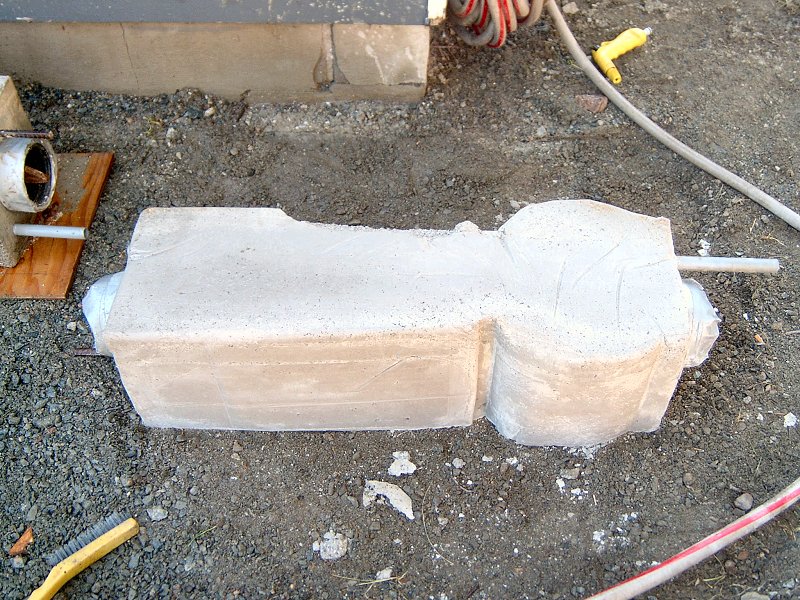
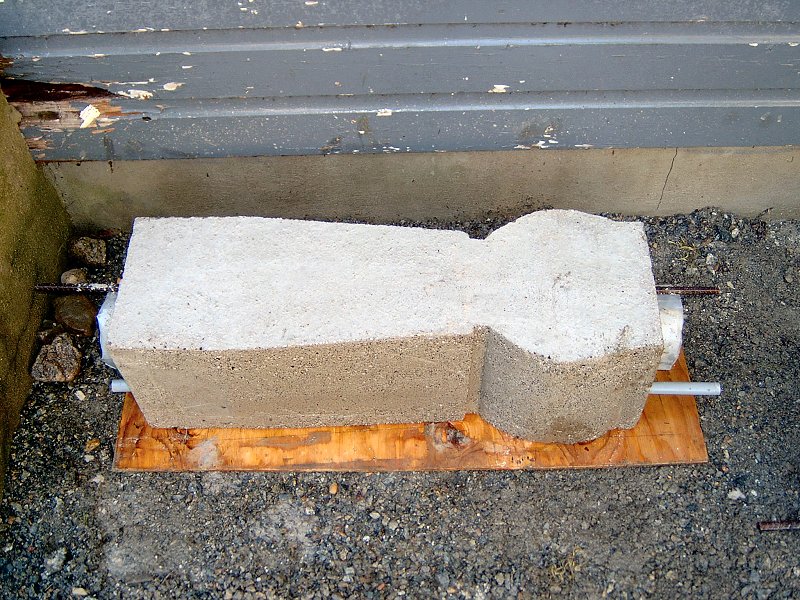
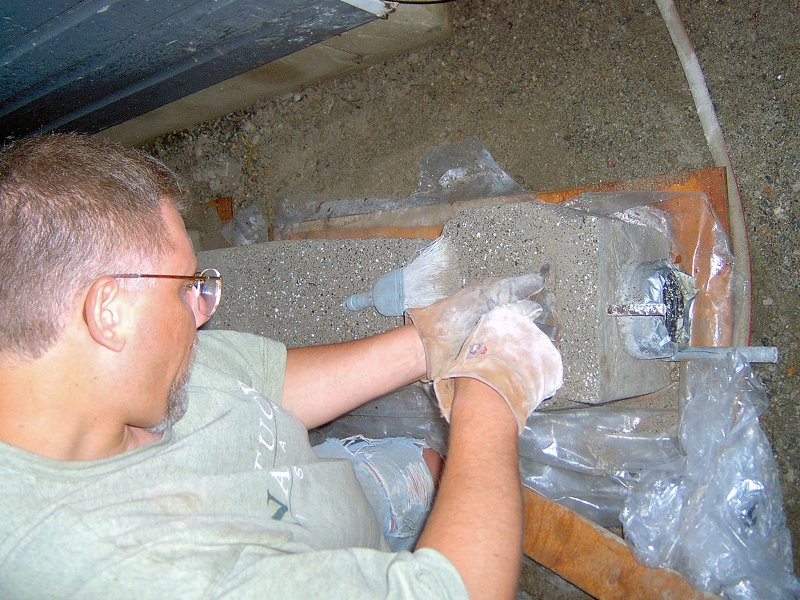
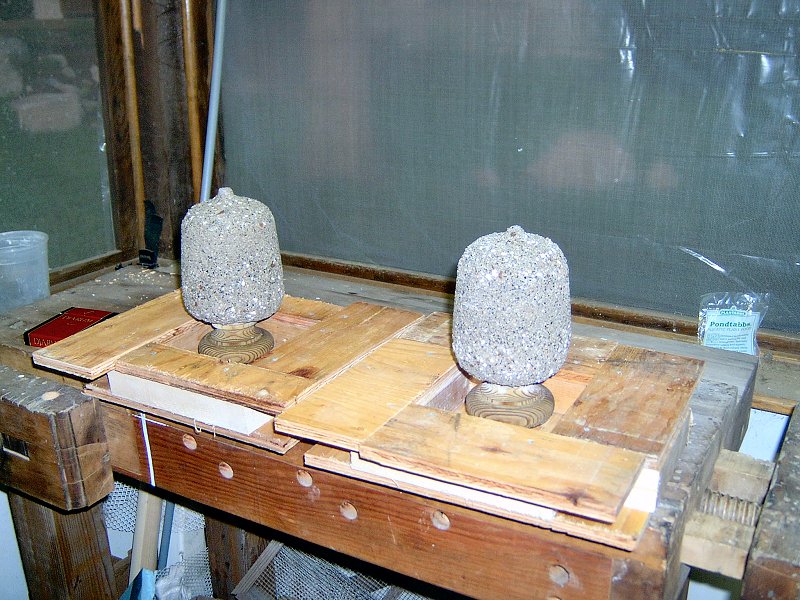
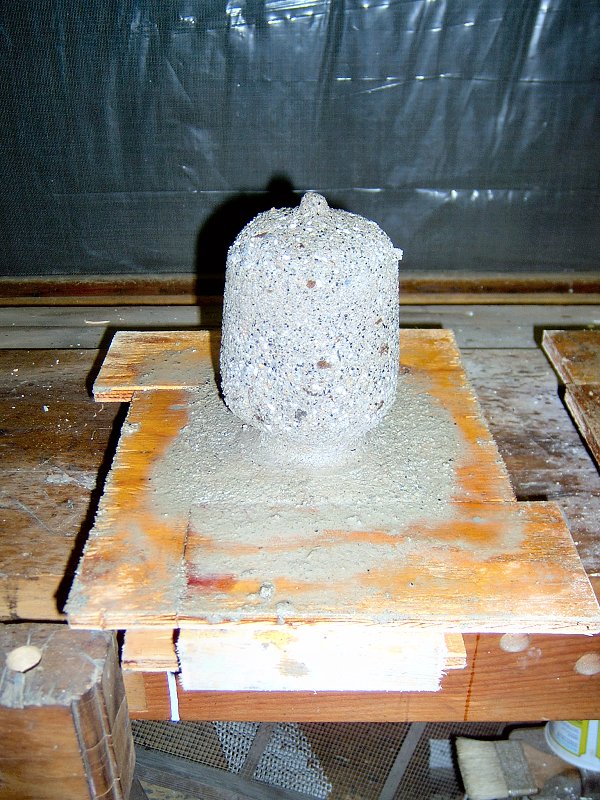
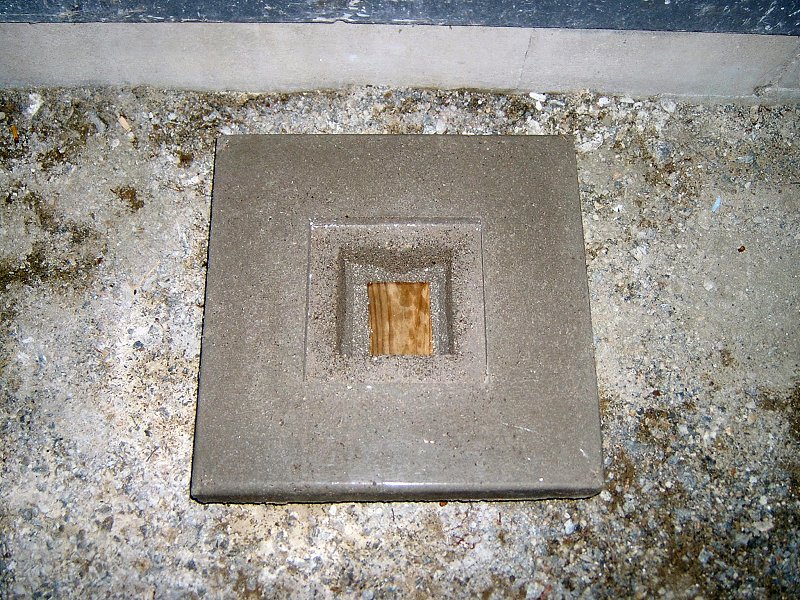
It was then a matter of just mixing 'tufa and pouring the molds. I'd get a pair of pieces poured each night after work, then work on the molds and get another batch of dry mix ready for the next night. The first thing I'd then do each evening was break the pieces from the previous night out of their molds, pour the next pieces, then work on the freshly unmolded pieces while they were still green. I found to get the best "carved stone" look from each piece, I had to go over the whole thing with a wire brush as soon as it came out of the mold. That would bring out the colors and grain in the 'tufa, and remove any surface marks left in the piece from the mold. Once the piece was brushed and rinsed well, it would get covered in plastic and given a sprinkle of water each day over the course of a couple weeks while it fully cured.
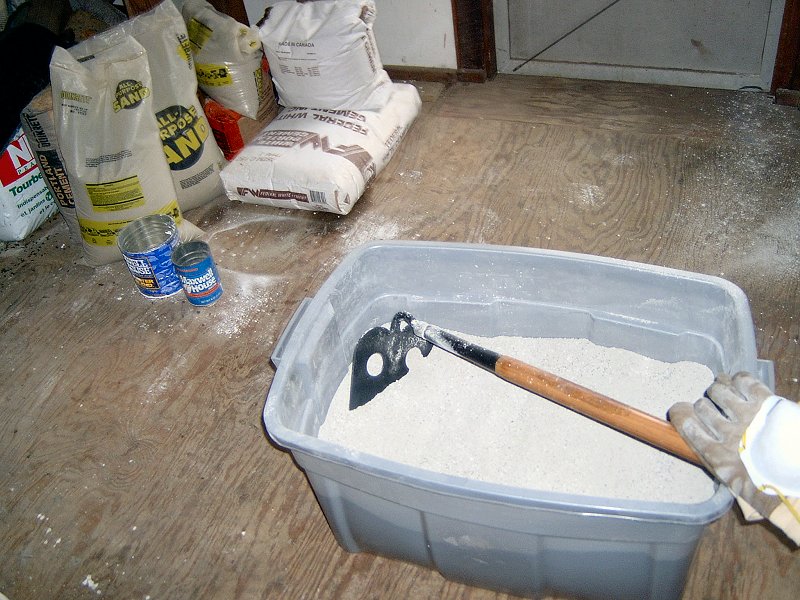 The dry hypertufa mix, ready to make a lantern or two, July 2003. (27 photos)
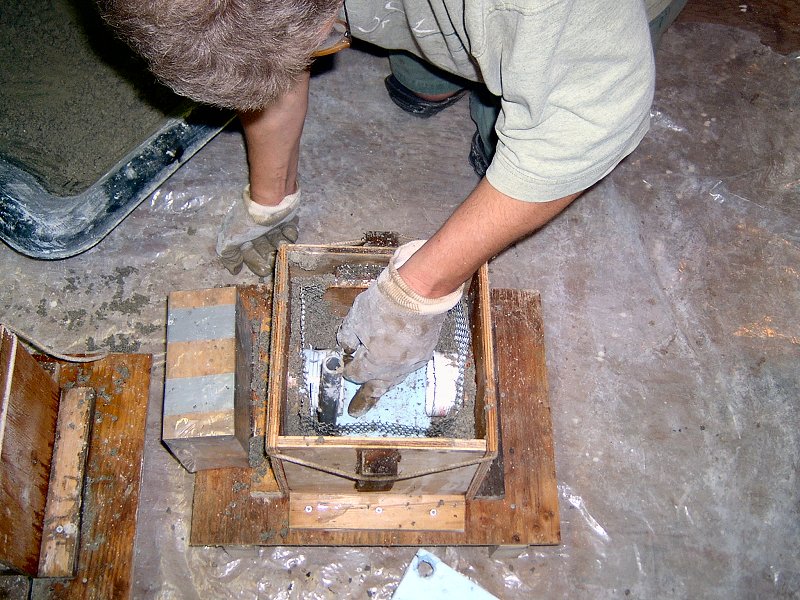
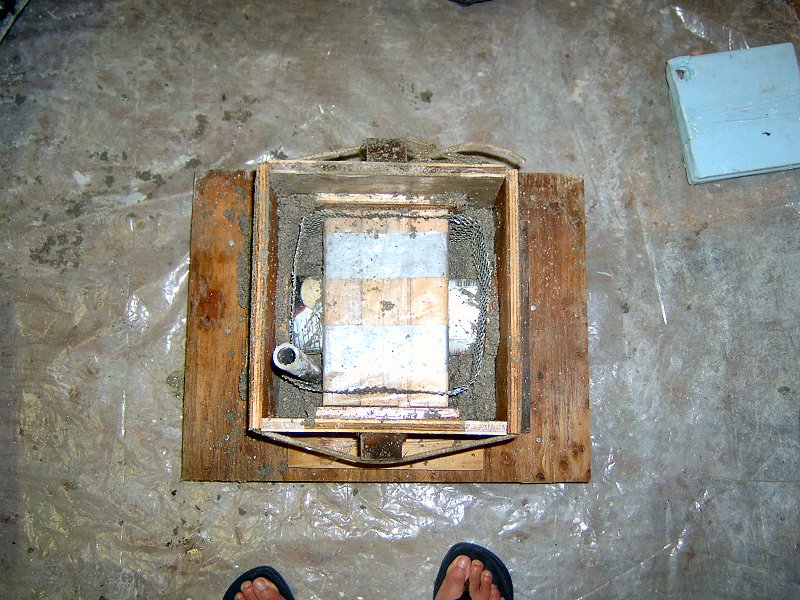
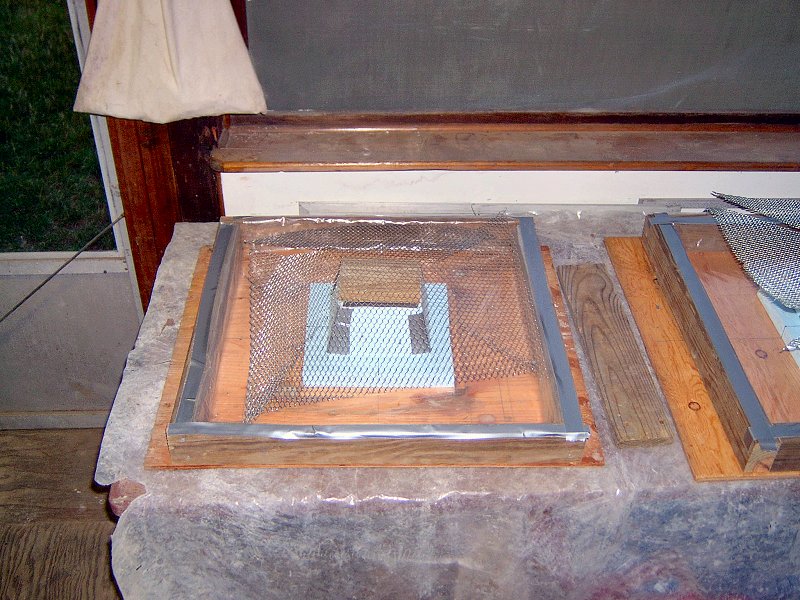
When I made the castings, I also cast in a piece of 3/4" PVC conduit so I could run wiring into each lantern. The conduit was pulled once the piece came out of the mold, leaving a nice wire passage from the base to the top. I also used a piece of corrugated plastic drain pipe wrapped in plastic in the center of each base piece to create the hollow interior to fit over the vent pipes during installation. The drain pipe was flexible enough that I could collapse it and get it out of the concrete. Each piece also had a good amount of galvanized expanded metal screen in it to provide support for the finished unit. One of the tricky things to keep in mind when making the molds was that they had to come apart later. That meant they were mostly made from foam board that could be shredded for removal, or wood blocks and braces that were simply taped together and wrapped in plastic so they could be later shifted a bit and removed without a lot of pounding and prying. The series of photos here show all the pieces being made over the course of a couple weeks.
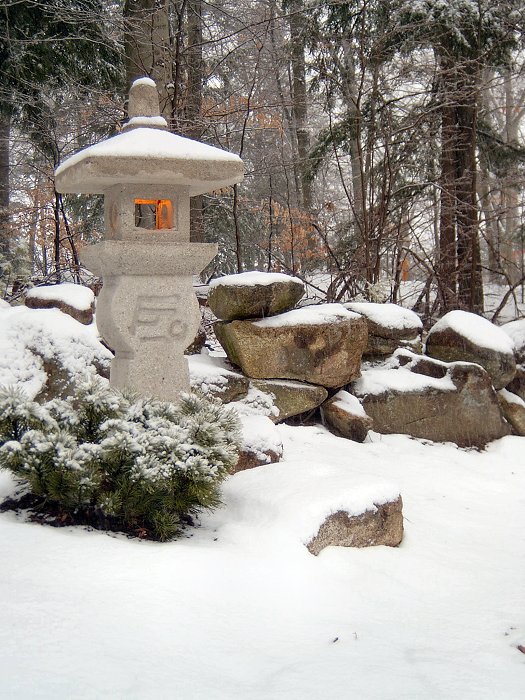 Oribe lantern at the Kester House in winter.
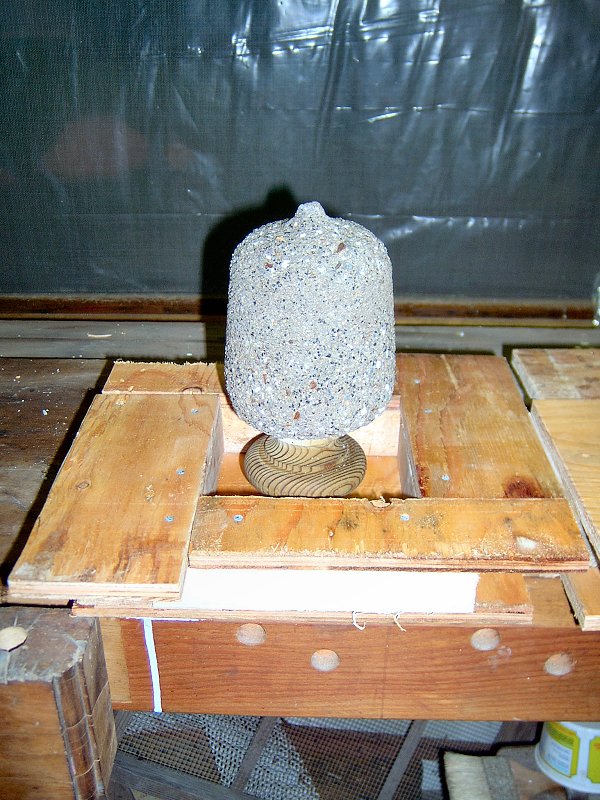
The lanterns have held up pretty well with some interesting cracks showing up in the finales (due to their wooden core, no doubt), and some moss is beginning to find a home on their bases. Each lantern's lightbox is lined with screen to try and keep the bugs out while still providing air flow, and a small shoji screen is fitted in the front of the lightbox in the summer.
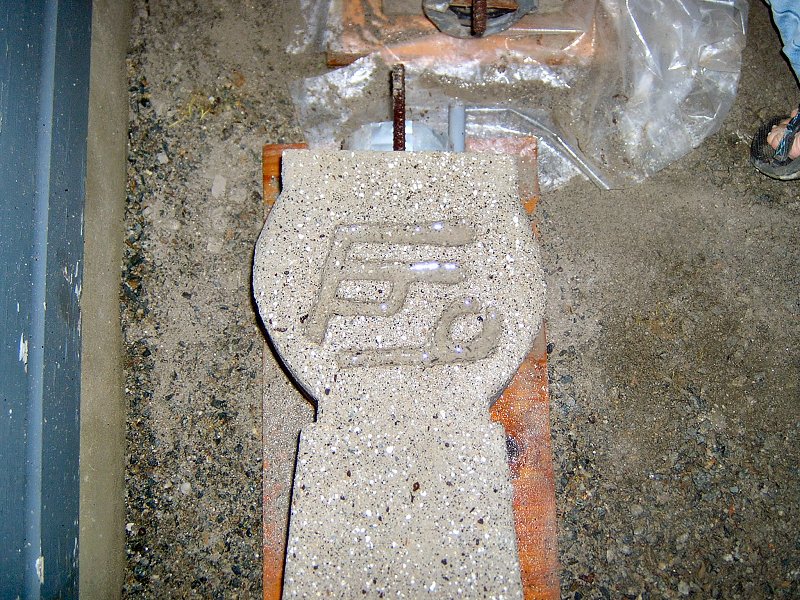
About the symbol
The form of the Oribe lantern bearing the pseudo-Kanji symbol on the upper part of the base, and sometimes a low-relief figure further down the base (often partially buried) is known as the Christian Lantern or Krishitan doro. Francis Xavier, a Roman Catholic Priest, arrived in Japan in 1549 and with support from Daimyo Oda Nobunaga, began to spread his religion. Nobunaga enjoyed interacting with foreigners and used these missionaries to control the Buddhist priests that opposed him. After Nobunaga's death, his successor Toyotomi Hideyoshi became wary of the expanding power and holdings of the Catholic church and in 1614 banned Christianity altogether.
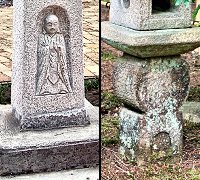 The "Buddha" in the buried base.
By the mid 1600's the Catholic remnants in Japan were driven underground and became known as the Hidden Christians or Kakure Kirishitan. They continued to practice their religion in secret, meeting covertly and disguising their religious icons and graves as objects of Buddhist worship to avoid persecution by authorities. The Krishitan doro version of the Oribe lantern contains a clear example of this disguised religious iconography in that the figure carved in the buried part of the base is believed to represent a saint or the Virgin Mary rather than Buddha. Additionally, the symbol carved in the upper part of the base below the central platform is actually the Greek monogram "IHS" (Jesus) carved sideways and poorly disguised as Kanji. I didn't carve a little Buddha in my lanterns, but did include the IHS since I felt the lanterns look rather bare without it.
↑