

The Garden Shed
Our fancy tool shed.
While not an elegant name (garden pavilion sounds much nicer, but it is just a shed, after all), the shed was the first construction project I built on the property after the landscaping was finished in late Summer, 2003. I hadn't done any construction work for nearly 20 years, so I decided the shed would be a good starting point for a little carpentry refresher course. The shed was built without using any nail guns, since I wanted to at least try doing it "old school" before investing in an air compressor and nail guns. I also didn't make any plans for the thing (other than a few rough sketches of course), and just sort of designed it as I went along. I had an idea of how I wanted it to look, and not having a set of plans to work from allowed me to modify the design as I remembered how to build walls and frame window and door openings. I also wanted to use the shed as a sort of "test case" for the changes I had in mind for the roof on the main house, so I planned it with a 5:12 main roof pitch and a 3:12, 2 foot wide overhang to see how that would look.
The shed is 8' x 12', with a little 3' wide porch area on the front. As long as the building is under 100 square feet, the town doesn't require a building permit application, and it can be within 5' of the property line. That worked out perfectly for the site we had in mind in the NorthEast corner of the yard. The site for the shed was prepared with about a 6 inch deep bed of gravel, well compacted with the Bobcat when that was on site doing some landscape work.
Building the Shed
For a foundation I used 16 concrete Dek-Blocks
![]() piers on the gravel,
since I didn't want to mess with pouring concrete sono-tube footings. The blocks have worked out great, and after 5 years there hasn't
been any shifting or settling in the foundation. The floor of the shed is supported by 2x6 pressure treated lumber on 16" centers with joist hangers,
then decked with 3/4" exterior grade plywood. Walls are typical 2x4 framing on 16' centers, and sheathing is 1/2" exterior grade plywood.
There are no interior wall treatments, just a set of built in shelves and a workbench under the window.
piers on the gravel,
since I didn't want to mess with pouring concrete sono-tube footings. The blocks have worked out great, and after 5 years there hasn't
been any shifting or settling in the foundation. The floor of the shed is supported by 2x6 pressure treated lumber on 16" centers with joist hangers,
then decked with 3/4" exterior grade plywood. Walls are typical 2x4 framing on 16' centers, and sheathing is 1/2" exterior grade plywood.
There are no interior wall treatments, just a set of built in shelves and a workbench under the window.
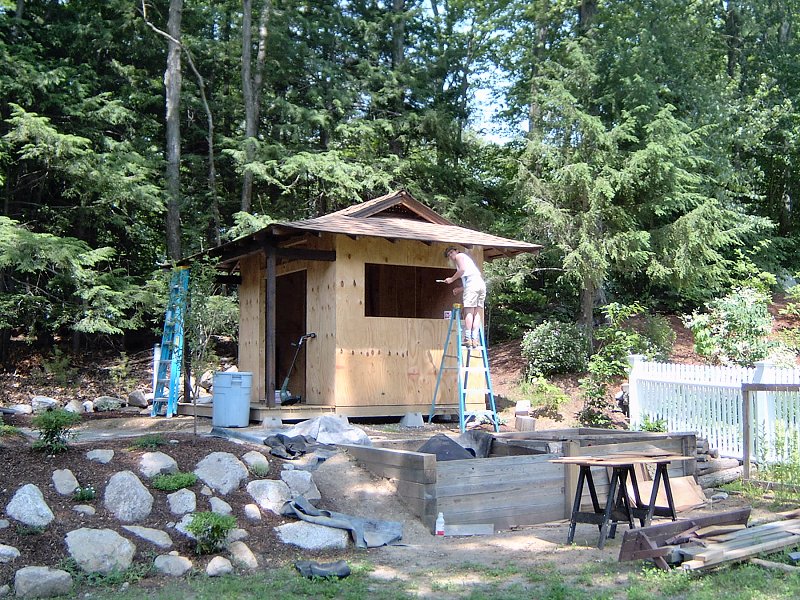
The shed construction nearly finished. (4 photos)
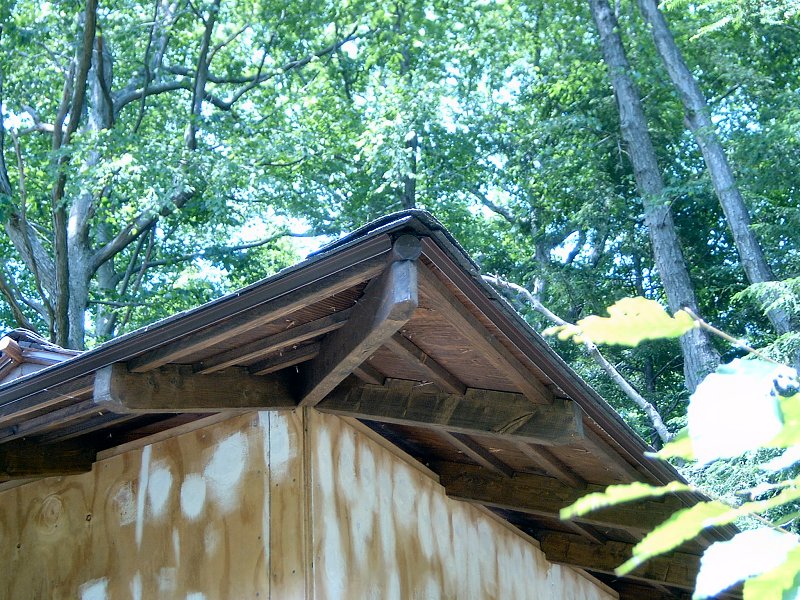
The roof framing was looking a little tricky since I had my heart set on a Dutch Hip style roof, so I took some time to study the excellent book
Roof Framing
![]() by Marshall Gross before I started cutting wood.
I highly recommend this book (if you can find a copy someplace) to anyone planning to do any roof framing themselves. Even if you're having roof work
done by a builder, the knowledge you'll gain from reading this book will allow you to make informed decisions about your roof design and construction.
Due to the small size of the structure I used 2x4s for the roof framing members, and decked it with 1/2" plywood sheathing. The shed went up pretty
quickly, and after a few weekends and evenings over the course of about a month it was primed and ready for finish work.
by Marshall Gross before I started cutting wood.
I highly recommend this book (if you can find a copy someplace) to anyone planning to do any roof framing themselves. Even if you're having roof work
done by a builder, the knowledge you'll gain from reading this book will allow you to make informed decisions about your roof design and construction.
Due to the small size of the structure I used 2x4s for the roof framing members, and decked it with 1/2" plywood sheathing. The shed went up pretty
quickly, and after a few weekends and evenings over the course of about a month it was primed and ready for finish work.
We planned to use the shed as a test building to try out the paint and stain color combinations that we would eventually use on the main house. Since one of the largest color blocks on the building is the roof (and there's not a lot of color variations for roof shingles), we decided to based our color palette on the roof shingle color. We selected Owen's-Corning Oakridge® architectural style shingles in Desert Tan, since they were the closest match to natural wood shingles we could find. The architectural or "dragon's tooth" style shingles also don't require the same level of precision during application as standard 3-tab shingles to still look great when dealing with a not-so-square roof (which I knew I'd have to deal with on the main house). A few trips to the paint department later, we decided on Valspar's "Woodlawn Lace", 3006-10C for the exterior color ( I think... can't find the paint can lid right now), and Olympic Semi-Transparent "Tobacco", 707 stain for the trim.
Finishing the Shed
Trim work done, doors will have to wait.
The trim for the shed is inexpensive rough sawn Spruce, and I got most of that applied in the Fall of 2003. With the onset of Winter weather,
shed finish work was put on hold while I started working on the heating system and other interior projects in the house. In Spring of 2004
I finally built the last part of the shed: the shoji doors and windows. All of the shoji were made from pressure treated lumber,
since I want the units to last quite a while and they'd be exposed to the elements. The toughest part of the shoji was coming up with
an appropriate material to use for the paper sections. Traditional washi paper would have required annual replacement,
so I set about finding something that could stand up to the weather, yet still have the proper translucence and look
of washi paper. I found a material called Synskin, manufactured by Tap Plastics
![]() that did the job nicely.
Synskin is basically a thin fiberglass sheet that's coated with vinyl on both sides, so it's incredibly tough and weather resistant,
yet still looks just like washi paper. Once the shoji frames were built and stained, I glued
the Synskin to the frames using West System® epoxy resin, since it's one of the few glues that will
actually bond with the stuff.
that did the job nicely.
Synskin is basically a thin fiberglass sheet that's coated with vinyl on both sides, so it's incredibly tough and weather resistant,
yet still looks just like washi paper. Once the shoji frames were built and stained, I glued
the Synskin to the frames using West System® epoxy resin, since it's one of the few glues that will
actually bond with the stuff.
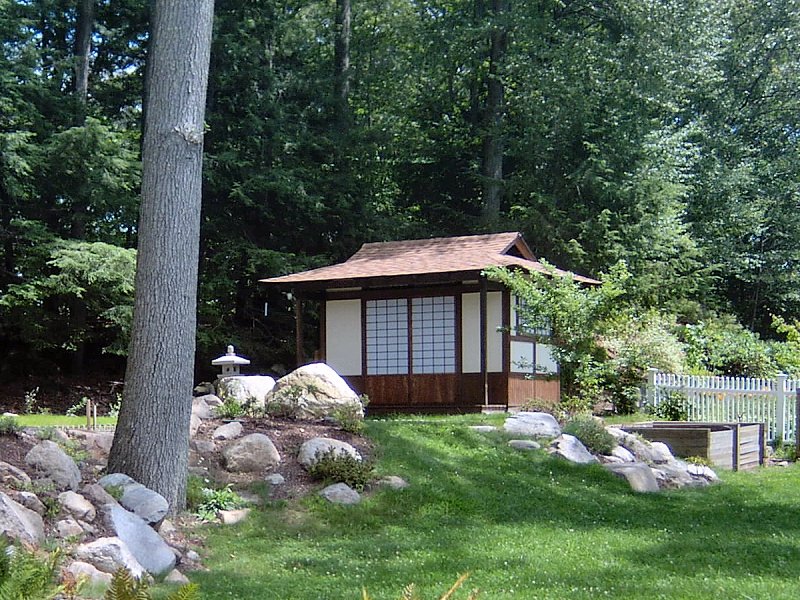
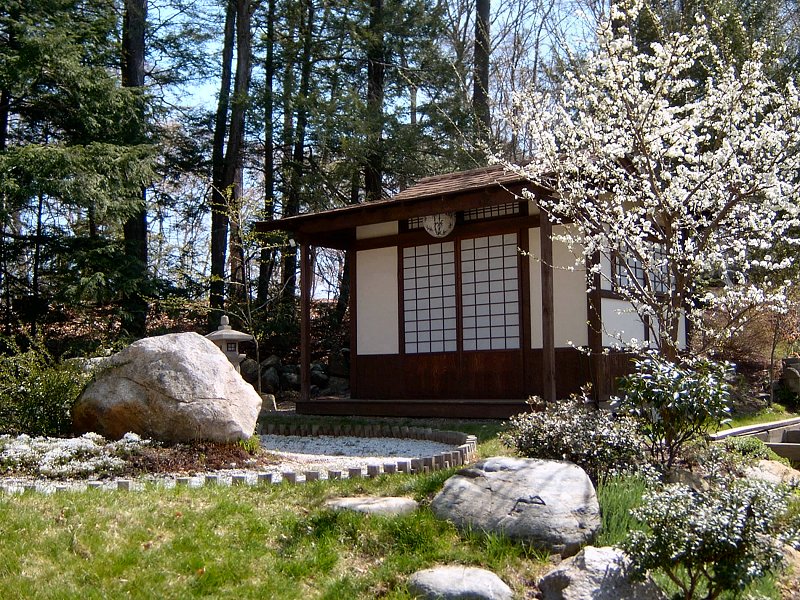
The completed shed.
The shed has held up quite well over the last few years, and once we get a garage built I'll likely move all the yard tools from the shed to the garage. I think the final use for the shed will be as a dedicated bonsai work area. I'm thinking of adding a couple of bonsai display benches below the window on the South side, with a wood screen awning to filter the hot summer sun from the plants.
As for serving the purpose of re-acquainting me with carpentry work, the project was quite successful. It didn't take long to get a feel for the work again, and I found it extremely satisfying to make something tangible, instead of sitting at a computer all day (as I'd been doing for a quite a few years before getting on with this house project). Even though the shed went up pretty quickly, we decided to get a compressor and nail guns to use on later projects due to the time savings they allow. The other large tool investment the shed work made clear was the need for a decent sliding compound power miter saw. Cutting the relatively few 2x4 rafters the roof framing on the shed required was tedious at best, and trying to perform that work with a circular saw on the large number of 2x6 rafters the main house would need was just not going to be an option. The shed project was also successful in that it gave me the confidence to tackle the larger projects I'd need to address with the house renovation, as well provide us with a finished view of the color scheme and building style we hoped to apply to the main house.
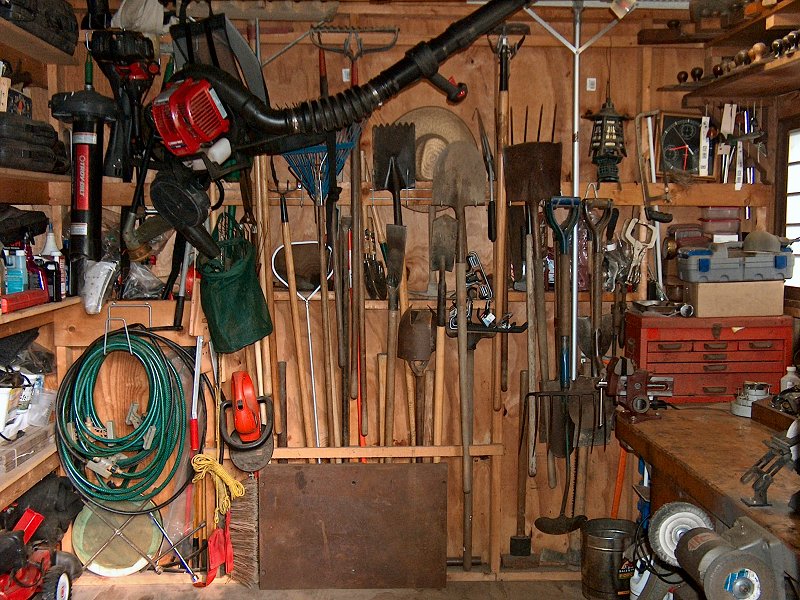
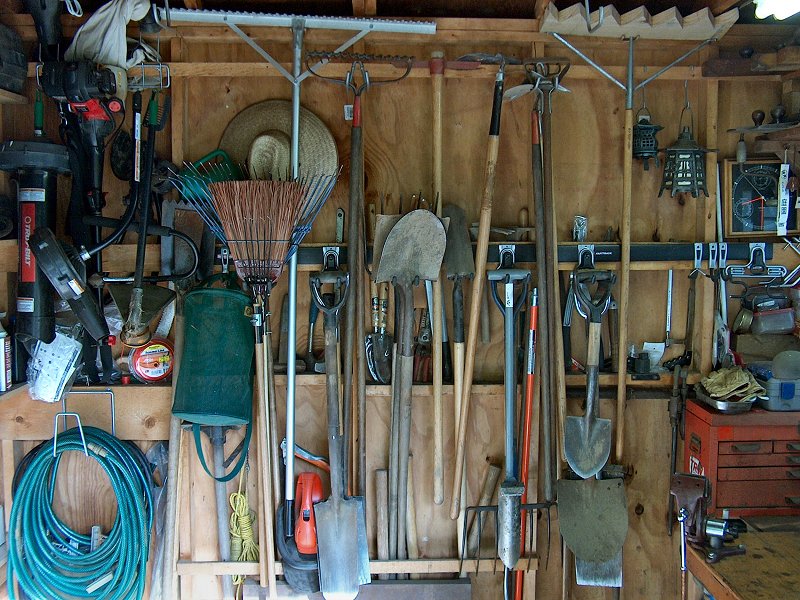
Tool storage inside the shed (2 photos).
Inside the Shed
After a few years of getting new shovels and rakes, the few tool hangers I had installed on the back wall were getting overwhelmed. Every time I
needed a couple tools for yard work, I'd have to pull out half the stuff in there to get at what I needed. I finally decided in Summer of 2014
to do something about it, so after a bit of pokin' around on the net I decided to go with the Rubbermaid®
Fast Track®
Garage Organization System![]() , purchased from Amazon.
I picked up a 48" track and the 5-pc. kit to get started (which includes another 24" rail), and also grabbed a few additional 5E11
multi-purpose hooks, since those seem to be the most useful of the bunch.
, purchased from Amazon.
I picked up a 48" track and the 5-pc. kit to get started (which includes another 24" rail), and also grabbed a few additional 5E11
multi-purpose hooks, since those seem to be the most useful of the bunch.
All the parts sat in the shed for over a year before I finally got around to getting the stuff installed in early 2015, but what a difference! The multi-purpose hooks work very well to hold D-handled tools, as well as rakes and brooms. The track is very sturdy and provided plenty of room to re-organize the tools so I can easily get at what I need without everything falling over every time I try to get something. I'm very pleased with the results, and even managed to create enough room to get a few more tools (always a good thing).
↑